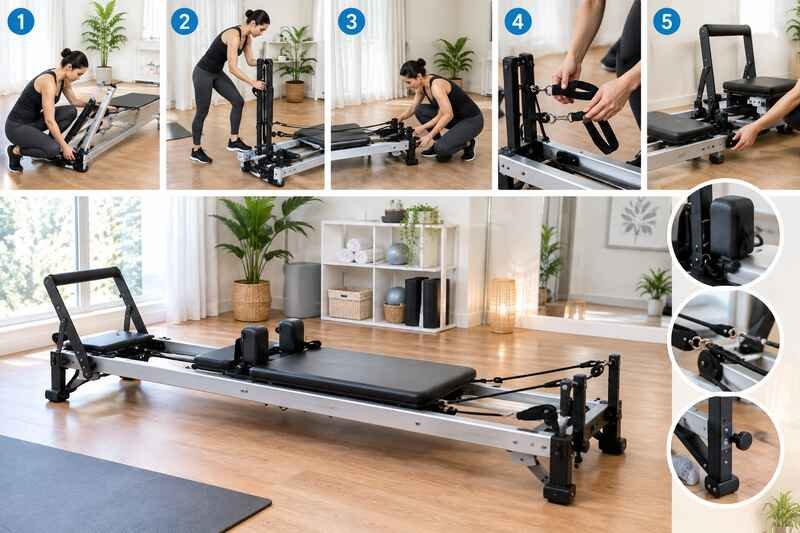
Learning how to set up Aeropilates reformer at home is the first step to a great Pilates practice. Start by watching the manufacturer’s unboxing and assembly video below, which shows you how to put the reformer together piece by piece.
Then, get to know the AeroPilates Primer and Basic Workout video series. It covers Pilates basics, the machine, rebounding, and safety, and understanding these will help you enjoy your workouts more.
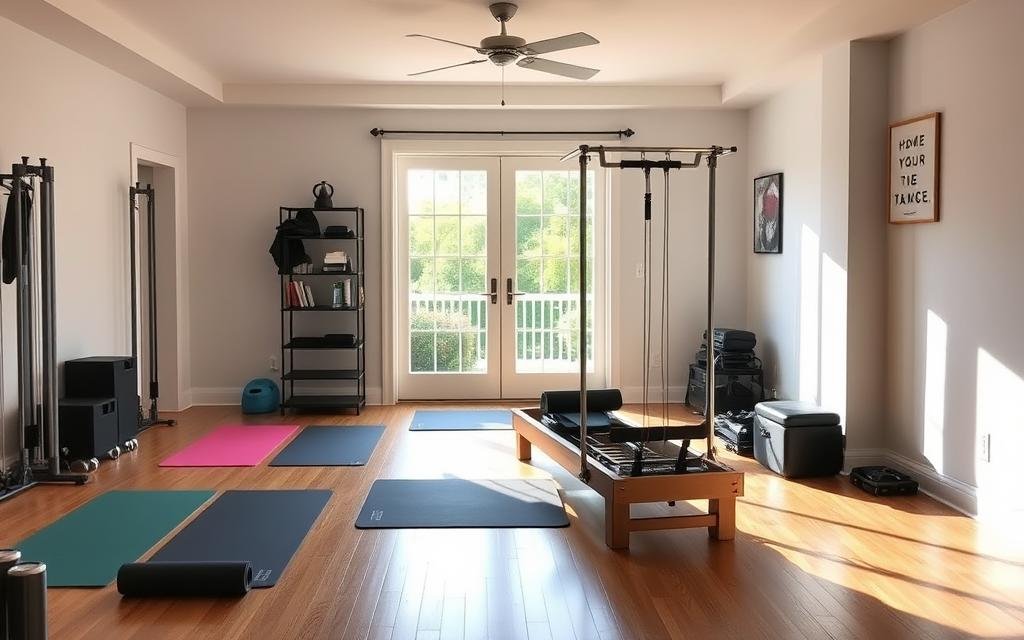
Choose a spot for your reformer that’s inspiring and well-lit. Make sure it has good air flow and space for extra gear.
Key Takeaways
- Watch the unboxing and assembly video to familiarize yourself with the reformer components.
- Review the AeroPilates Primer video series to understand the theory, benefits, and proper usage of the reformer.
- Choose a location that is inspiring, well-ventilated, and has sufficient space for your Pilates practice.
- Learning how to set up Aeropilates reformer at home usually takes less than an hour once the parts are unboxed and organized.
- Seek additional online resources and community support to enhance your Aeropilates reformer experience.
Understanding Your Aeropilates Reformer
The Aeropilates reformer is a versatile piece of equipment designed to elevate your Pilates practice. It has key components that play a crucial role in delivering a full-body, low-impact workout. Whether you’re new to Pilates or a seasoned practitioner, understanding the reformer’s features will help you maximize its benefits and achieve your wellness goals.
What is an Aeropilates Reformer?
The Aeropilates Reformer is a Pilates machine that introduces adjustable resistance to enhance your workouts progressively. It features a sliding carriage, springs for resistance, a footbar, and straps with handles. This allows for a diverse range of exercises that target multiple muscle groups. The reformer’s adaptability makes it suitable for users of all fitness levels, from beginners to advanced Pilates enthusiasts.
Key Components of the Reformer
- Carriage: The sliding platform where you’ll perform various exercises, engaging your core and lower body muscles.
- Springs: Providing adjustable resistance, the springs allow you to challenge yourself and see steady progress.
- Footbar: This adjustable component enables you to modify your posture and workout intensity based on your height and fitness level.
- Straps and Handles: The straps with attached handles offer upper body and arm workouts, adding to the reformer’s versatility.
Understanding these components helps you set up your machine, perform exercises with proper form, and tailor workouts to your goals. This guide to choosing the best home reformer model can help if you’re still deciding which one fits your space and budget.
| Reformer Brand | Resistance Type | Footbar Adjustability | Frame Warranty |
|---|---|---|---|
| Merrithew At-Home Reformers | Adjustable springs | Yes | Lifetime on frame and rails |
| Balanced Body Reformers | Adjustable springs | Yes | Lifetime on standard wood frames |
| Stamina AeroPilates Reformers | Adjustable cords/springs | Yes | Per owner’s manual (contact manufacturer) |
Preparing Your Space for the Reformer
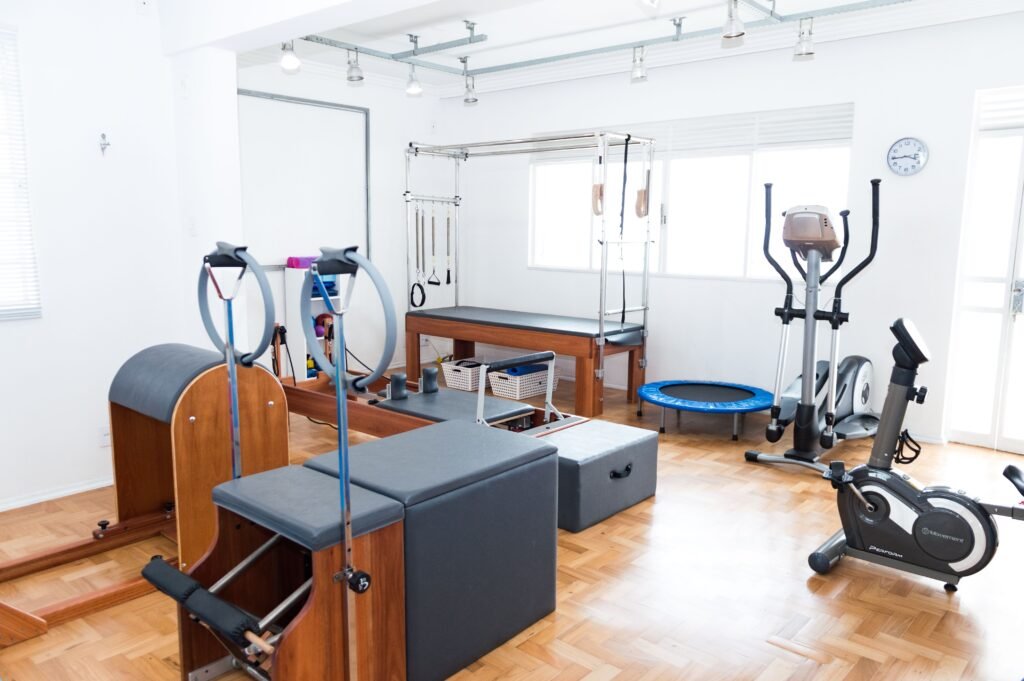
Part of learning how to set up Aeropilates reformer at home is finding the right spot and enough room for a comfy, effective workout. Here are some tips to make the perfect space for your home Pilates practice.
Choosing the Right Location
Find a quiet, clean spot in your home for your Aeropilates reformer. It should be bright and have good air flow. This helps you focus on your workout without distractions. If your reformer folds up, follow the maker’s guide to set it up.
Ensuring Adequate Space
- A fully assembled reformer runs roughly 90 inches long and 20 inches wide, according to the manufacturer’s official product specifications, so plan for a clear stretch of floor at least that long.
- Add clearance on all sides for entry, exit, and arm and leg extensions, plus overhead room if you’ll use a pull-up bar or tower accessory later.
- Make sure the reformer sits on a flat, stable surface to avoid wobbling during workouts.
The area around your Aeropilates reformer should let you move easily and do exercises right. Think about lighting, air flow, and creating a calm Pilates space.
| Key Pilates Equipment | Approximate Footprint |
|---|---|
| Pilates Reformer (assembled) | About 90″ long x 20″ wide |
| Pilates Reformer (folded) | About 47″ long x 20″ wide |
Unboxing Your Aeropilates Reformer
When you get your new Aeropilates reformer, check each part before you start. This makes sure it’s safe and ready for your workouts. Begin by unpacking everything and matching it to the manual.
Inspecting the Components
Look over the straps, springs, and platform for any damage. Make sure all parts, like the foot bar and Cardio Rebounder, are there. Also, check that all screws and bolts are there and in good shape.
Assembly Instructions
- Follow the step-by-step guide from the manufacturer.
- Put each part in place as the guide says, making sure it’s tight and right.
- If you have a Cardio Rebounder, attach it as the guide tells you.
- After you’ve put everything together, check that it’s all set before you start using it.
Checking and assembling your reformer carefully is key for safe use, so take your time to get it ready for your workouts.
Assembling Your Aeropilates Reformer
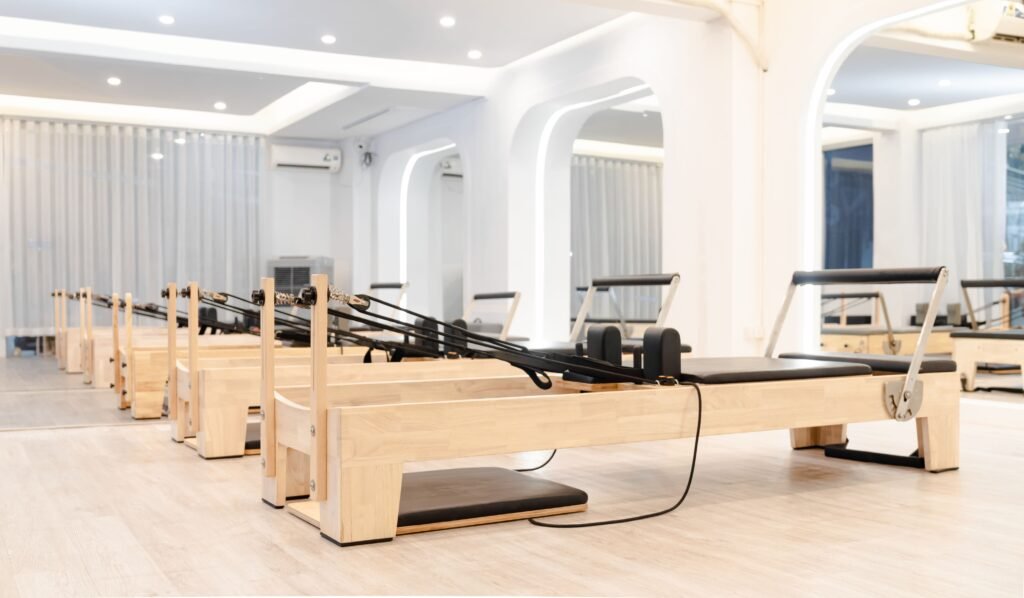
Learning how to set up Aeropilates reformer at home is a key step in your Pilates journey. By following a detailed assembly guide, you can ensure your new equipment is properly installed and ready for your workouts. Let’s walk through the step-by-step process to get your Pilates reformer up and running.
Step-by-Step Assembly Guide
Start by carefully unpacking all the components of your Aeropilates reformer. Refer to the included instruction manual and lay out the parts in an organized manner. The assembly process typically involves the following steps:
- Attach the legs or frame to the base of the reformer.
- Install the carriage and secure the rails that the carriage will glide along.
- Connect the springs, footbar, and headrest, ensuring they are properly secured.
- Attach the straps and handles, making sure they are firmly in place.
- If your reformer includes a Cardio Rebounder, follow the specific instructions to install it correctly.
Useful Tools for Assembly
To make the assembly process smoother, have the following tools on hand:
- Screwdriver
- Allen wrench
- Pliers
Take your time during the assembly and double-check that all components are properly installed.
Adjusting the Reformer Settings
Once you’ve learned how to set up Aeropilates reformer at home, getting the settings just right is key for a great Pilates workout. It’s all about setting the right resistance and adjusting the foot bar to fit your fitness level and the exercise. This guide to adjusting resistance on a reformer walks through spring setup in more detail.
Setting Resistance Levels
The resistance on your Aeropilates reformer depends on the springs attached to the carriage. More springs mean harder resistance, while fewer springs make it easier. Beginners should start with less resistance and increase it as they get better. This helps your body adjust and keeps your form correct.
Adjusting Foot Bar Height
The foot bar on your Aeropilates reformer can be adjusted for your size and the exercise. The right height helps you keep good posture and do the exercises right. Try different heights to find the one that works best for you.
Remember, it’s not always about using more resistance. Sometimes, less resistance can make your core work harder. Adjust your Aeropilates reformer to challenge yourself while keeping proper technique.
Safety Considerations
Once you know how to set up Aeropilates reformer at home, safety becomes the next priority. Always check if the machine is stable and all parts are tight, since this helps prevent injuries and makes your workout more effective.
Checking Stability
Before starting, inspect the reformer well. Make sure the frame is strong and the carriage moves smoothly. Also, check that the footbar, shoulder blocks, and other parts are secure. If you find anything loose or unstable, fix it right away to keep your workout safe and reliable.
Ensuring Proper Form
- Keep your spine in a neutral position throughout the exercises.
- Engage your core muscles to support your body and maintain balance.
- Move with control and precision, avoiding jerky or sudden movements.
- If you’re unsure about the correct form for an exercise, refer to instructional videos or consult a certified Pilates instructor.
According to Healthline’s overview of reformer Pilates, injuries can happen if the equipment is used incorrectly or without proper form, and anyone who is pregnant, has a spinal condition, or is recovering from surgery should check with a doctor before starting. Listening to your body and not pushing too hard will help you enjoy your Aeropilates reformer safely for years to come.
Creating a Workout Routine
Start your Aeropilates journey with basic exercises. The Hundred is a classic Pilates move that strengthens your core, boosts your heart rate, and improves blood flow.
Try exercises that use the reformer’s special features. Leg stretches and arm-toning movements target different muscles. This beginner’s guide to using a Pilates machine covers several more foundational moves once your reformer is set up.
Basic Exercises to Start With
- The Hundred: Strengthen your core with this iconic Pilates exercise.
- Leg Stretches: Utilize the reformer’s footbar for dynamic leg stretches and muscle lengthening.
- Arm Toning: Perform exercises that challenge your upper body using the reformer’s straps and resistance.
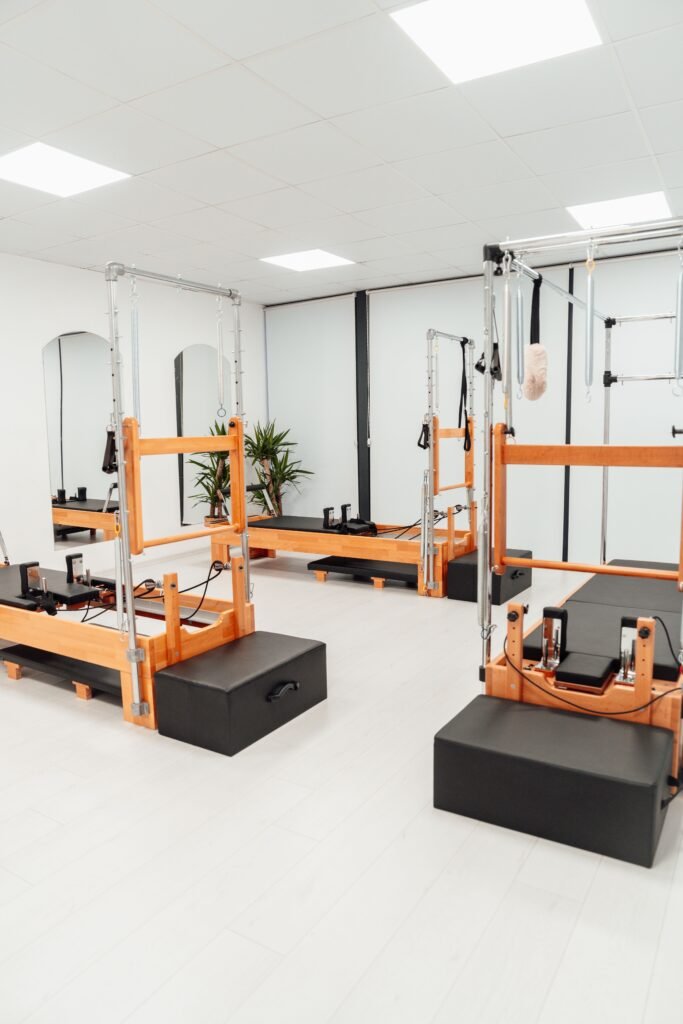
Designing a Weekly Schedule
Make a weekly schedule with a mix of Aeropilates exercises. Start with short sessions and add more time and intensity as you get better. Once the basics feel comfortable, this guide to increasing strength using the Aeropilates reformer can help you build a more advanced routine.
Being consistent is important. Aim to practice regularly to see improvements in strength, flexibility, and overall health.
| Day | Exercises | Duration |
|---|---|---|
| Monday | The Hundred, Leg Stretches, Arm Toning | 30 minutes |
| Wednesday | Leg Stretches, Arm Toning, Cardio Jumps | 45 minutes |
| Friday | The Hundred, Arm Toning, Core Engagement | 35 minutes |
The Aeropilates reformer and its workouts aim for a balance between mind and body.
Maintenance Tips for Longevity
Keeping your Aeropilates reformer in good shape is key for a long-lasting workout experience. Simple practices can help your home reformer stay in top condition, so you can enjoy your Aeropilates equipment for many years.
Regular Cleaning Practices
Cleaning your Aeropilates reformer regularly is essential. Use a mild cleaning solution and a soft cloth to wipe down the surfaces, and make sure to clean the carriage tracks well.
These tracks should be free of dust, debris, and sweat. This prevents damage and keeps the reformer moving smoothly.
Checking for Wear and Tear
Look for signs of wear and tear on your reformer. Check for frayed straps, stretched springs, or loose parts. Fix any problems right away to keep your equipment safe and working well.
Also, lubricate the moving parts like the carriage wheels and tracks. This reduces friction and helps your reformer last longer.
Protect your reformer from moisture and direct sunlight, since these can cause damage. Use a cover or store it in a dry, controlled environment when not in use.
By following these maintenance tips, your Aeropilates reformer will stay in great shape for years.
Where to Find Additional Resources
Boost your Aeropilates journey with a wide range of resources. Many Pilates brands have large libraries of online workout videos, including beginner guides, intermediate routines, and advanced exercises to keep you challenged.
These videos are great for improving your Pilates reformer skills, and they help you learn new movements and refine your technique. This Aeropilates reformer reviews and buyer’s guide is also a useful reference if you’re comparing models before you buy.
Online Workout Videos
Explore a variety of Aeropilates-focused online workout videos. They range from beginner tutorials to follow-along routines for specific muscle groups. These digital tools can deepen your Pilates knowledge and improve your skills.
Look for content from your Pilates brand and broader Pilates channels on YouTube. This way, you can find the guidance that fits your needs and preferences.
Community Forums and Support Groups
Join online forums and support groups to connect with Pilates fans. These spaces are perfect for sharing experiences, asking questions, and getting tips from others. You can find discussions on Pilates reformer workouts, equipment care, and more.
Stay motivated and inspired by participating in these discussions. Also, search for local Pilates studios offering “reformer Pilates near me” so you can get in-person guidance and feel part of a community.
Once your reformer is set up and you are comfortable with the basics, our guide on losing weight with Aeropilates reformer workouts can help you turn that routine into a structured weight-loss plan.
Conclusion
Learning how to set up Aeropilates reformer at home really comes down to a handful of fundamentals: picking the right spot, unboxing and assembling carefully, dialing in your resistance and footbar settings, and keeping safety and maintenance in mind along the way. Once your reformer is set up and stable, the real work of building a consistent Pilates practice can begin.
Take it step by step, lean on the manufacturer’s video guides when you need them, and give yourself time to settle into a routine. A properly set-up reformer, paired with good form and consistency, is what turns a home workout space into a genuine Pilates practice.

Hi, I’m Mamon, the content creator behind this blog. I share my experience in blogging, WordPress, SEO, and affiliate marketing through honest product reviews, in-depth buying guides, and practical how-to articles. Every piece of content is thoroughly researched and written to help readers make informed decisions.
Leave a Reply