A weight bench is one of the most versatile tools in any home gym, letting you target your chest, back, arms, shoulders, and core from a single piece of equipment. But knowing how to use a weight bench correctly, meaning the right incline, seat position, and body contact points, makes the difference between a productive workout and a wasted one, or worse, an injury. In this guide, we’ll walk through exactly how to set up and use a weight bench step by step, plus the mistakes most beginners make and how to avoid them.
Key Takeaways
- Match the bench angle to your goal: flat for maximum chest load, incline for upper chest and shoulders, decline for lower chest emphasis.
- Keep four contact points, head, shoulders, hips, and feet, in touch with the bench or floor throughout every rep.
- According to Mayo Clinic, most weight training injuries come from rushing the movement or using momentum instead of controlled form.
- Start light. A good starting point is 3 sets of 10 reps, adding weight gradually as reps get easier.
What Is a Weight Bench, and Which Type Do You Need?
A weight bench is a padded support designed for strength training, and it comes in more variations than most beginners expect. A flat bench is the simplest and most common option, ideal for barbell bench presses and dumbbell rows. An adjustable bench lets you shift between flat, incline, and decline positions, so you can work your upper, middle, and lower chest, plus shoulders, from one piece of equipment. Folding benches save space in smaller home gyms, while Olympic benches are built wider and longer with integrated racks for serious lifters.
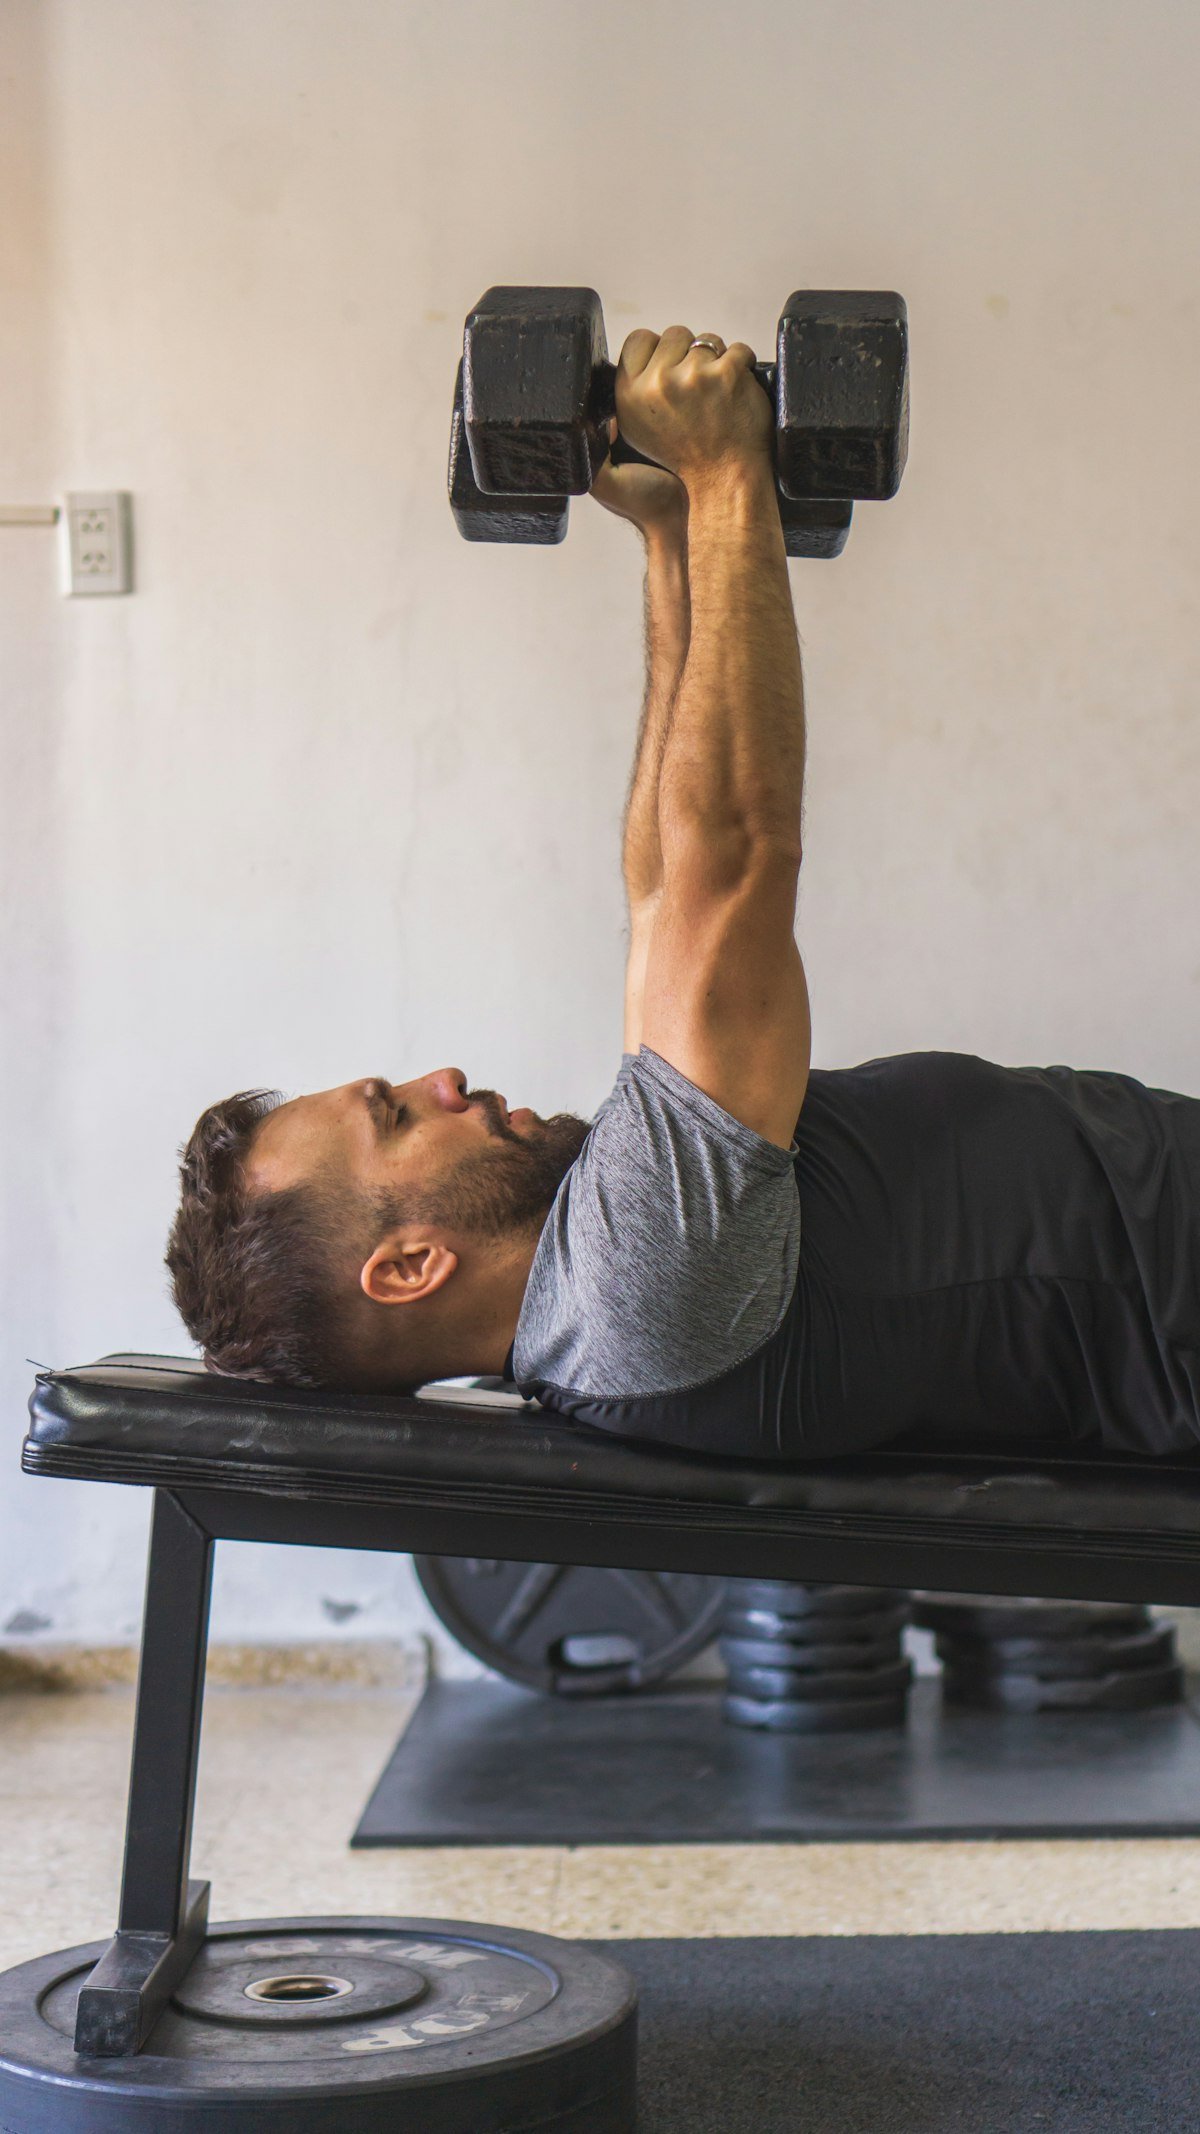
If you’re shopping for one, our best workout bench buyer’s guide breaks down the top adjustable and folding options by price and space requirements.
| Bench Type | Best For | Space Needed |
|---|---|---|
| Flat bench | Barbell bench press, dumbbell rows | Low |
| Adjustable bench | Flat, incline, and decline in one unit | Medium |
| Folding bench | Small apartments, home gyms | Low (stores flat) |
| Olympic bench | Heavier lifters, built-in rack storage | High |
Why Train on a Weight Bench?
A weight bench does more than give you somewhere to lie down. Because it stabilizes your torso, it lets you isolate a target muscle instead of recruiting stabilizer muscles to keep you upright, which is exactly what happens with standing presses. That stability also means you can safely load more weight than a floor press or standing variation allows, which translates into faster strength gains over time. An adjustable bench in particular multiplies your exercise options: the same set of dumbbells can train your upper chest, middle chest, lower chest, shoulders, and core just by changing the bench angle between sets, so you get more variety without buying additional equipment.
How to Use a Weight Bench: Step-by-Step
Step 1: Decide on the Exercise You’ll Perform
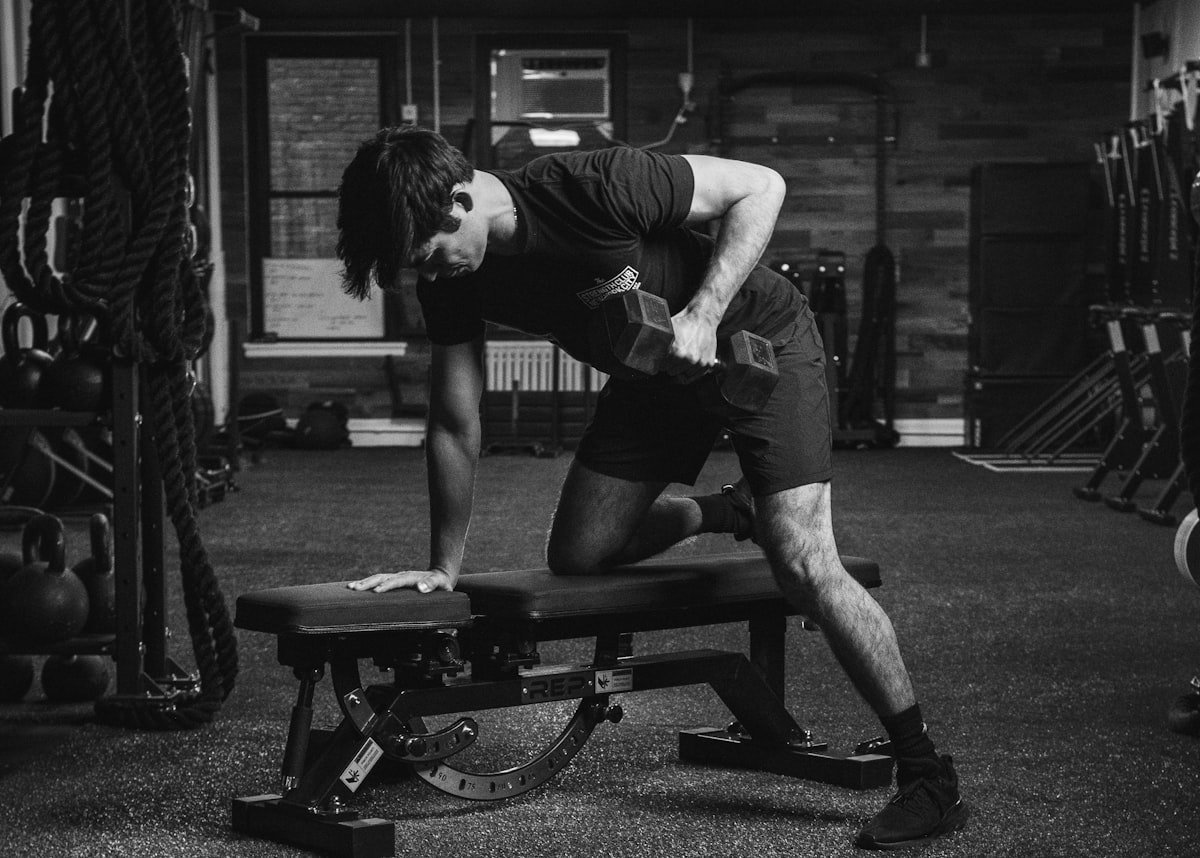
Before you touch the bench, decide which muscle group you’re training, because that choice determines every setup decision after it. For chest development, the barbell bench press lets you lift the most weight across flat, incline, or decline positions, while the dumbbell pullover works both your chest and back simultaneously. To train your arms, try the seated dumbbell hammer curl or lying dumbbell tricep extension. A weight bench also handles core work well: decline sit-ups and reverse crunches use the bench’s angle to add resistance beyond what floor exercises can provide. If your goal is upper-back strength, single-arm dumbbell rows performed with one knee and hand braced on a flat bench build the lats and rear delts without putting load on your lower back. Whatever exercise you pick, write it down before you touch the bench, since switching exercises mid-session usually means re-adjusting the angle, the seat, and the safety pin all over again.
Step 2: Adjust the Bench to the Right Incline
Once you know your exercise, set the bench angle to match it. Most adjustable benches move through several settings, typically flat, and inclines between 15 and 60 degrees, plus a decline option. After you set the angle, always insert the safety pin before loading any weight. A bench that shifts mid-rep is one of the most common causes of dropped-weight injuries, and the pin takes two seconds to check. Flat positions protect your lower back on pressing movements, while angled positions create variation that targets different fibers within the same muscle group.
Step 3: Adjust the Seat to Fit the Incline and Exercise
Don’t set the same angle every session. Varying the bench angle a few degrees at a time changes which part of the chest, shoulders, or back takes the load, which helps you build more balanced muscle over time. Incline the bench to emphasize your upper chest, or decline it to shift more work to the lower chest. For seated movements like overhead presses or bicep curls, raise the seat back to a near-vertical position and sit fully against the pad. This keeps your torso stable and stops you from arching your back to “cheat” the last few reps, a habit that adds strain to your spine without adding muscle. Double-check the safety pin again once the seat is set.
Step 4: Determine the Weight to Use
Your load should match the exercise and the stability of your position. Isolation moves like bicep curls need less weight than compound lifts like the bench press, since fewer muscles are sharing the work. Dumbbells force each side of your body to work independently, which is useful for correcting side-to-side strength imbalances. Barbells let you lift more total weight because the bar itself provides stability, and they keep both arms moving at exactly the same pace and depth. Neither option is universally “better”; the right choice depends on whether you’re training for balance or for raw load.
Step 5: Perform Your Exercise With Proper Form
Before your first rep, check your four contact points: head, shoulders, hips, and feet should all stay in contact with the bench or the floor throughout the set. Losing contact at any of these points, especially letting your head or shoulders lift off the pad, is a common way lifters strain their neck. Move the weight in a controlled two-count on the way up and a slower four-count on the way down, rather than using momentum to swing it. ACE Fitness recommends keeping your head, shoulders, hips, and feet firmly planted through the entire lift for exactly this reason. If you’re new to a lift, start light: 3 sets of 10 reps is a reasonable starting point, and you can add weight gradually as the reps get easier.
Watch: Weight Bench Setup and Form in Action
Seeing the setup and bar path in motion makes the contact-point and incline adjustments above much easier to picture. This walkthrough covers grip, bracing, and bar path ona flat bench, the same principles carry over directly to incline and decline position.
How to Bench Press: Best Setup & Bar Path Tutorial
Common Weight Bench Mistakes to Avoid
Even experienced lifters fall into a few predictable traps. Skipping the safety pin is the most dangerous, an unlocked incline setting can shift mid-set and cause the bench to collapse under load. Arching off the pad to grind out extra reps reduces the muscle-building benefit of the set and shifts strain onto your lower back. Using the same angle every workout limits muscle development, since each incline setting recruits slightly different fibers. Rushing the eccentric (lowering) phase is another common issue: per Mayo Clinic’s weight training guidance, most weight training injuries happen from swinging weights or using poor technique rather than from the weight itself. Finally, treating a workout bench as a place to do everything (a shelf, a step, a seat) accelerates wear on the padding and hinges; reserve it for lifting only. Gripping too wide or too narrow on barbell lifts is another overlooked issue: a grip that’s too wide reduces range of motion and stresses the shoulder joint, while a grip that’s too narrow shifts emphasis onto the triceps and reduces chest activation, so aim for a grip roughly 1.5 times your shoulder width unless a specific program calls for otherwise.
Weight Bench FAQs
Do I need a spotter to use a weight bench?
For light dumbbell work, no. For heavy barbell bench presses, especially near your max, a spotter or a rack with safety arms is strongly recommended.
What’s the best incline angle for chest training?
A 15 to 30-degree incline targets the upper chest without shifting too much load onto the front shoulders. Steeper angles above 45 degrees recruit more shoulder muscle than chest.
Can beginners use an adjustable weight bench safely?
Yes, as long as you check the safety pin before every set and start with a weight you can control for the full range of motion. Our exercise equipment category has more beginner-friendly equipment guides.
How often should I train on a weight bench?
Most fitness guidelines recommend strength training each major muscle group at least twice a week, with a rest day between sessions for the same muscles.
Is a flat bench or an adjustable bench better for beginners?
An adjustable bench is generally the better first purchase, since it lets you try flat, incline, and decline positions without buying multiple pieces of equipment. You can always add a dedicated flat bench or an Olympic rack later as your training gets more specialized.
Conclusion
Learning how to use a weight bench properly comes down to a few repeatable habits: match the bench angle to your exercise, lock the safety pin before every set, keep your four contact points on the bench, and control the weight rather than swinging it. Start light, add weight gradually, and vary your incline over time to build balanced strength. For more equipment breakdowns, browse our workout bench and fitness categories.

Hi, I’m Mamon, the content creator behind this blog. I share my experience in blogging, WordPress, SEO, and affiliate marketing through honest product reviews, in-depth buying guides, and practical how-to articles. Every piece of content is thoroughly researched and written to help readers make informed decisions.
Leave a Reply