

Home readings can be more useful than a single check at the doctor’s office. But they only help if you take them the right way. Small mistakes, like talking, crossing your legs, or using the wrong cuff, can push your numbers up or down. This guide shows you how to take blood pressure at home step by step. It is based on American Heart Association (AHA) guidance. You will also learn how to choose an accurate monitor and what your numbers mean.

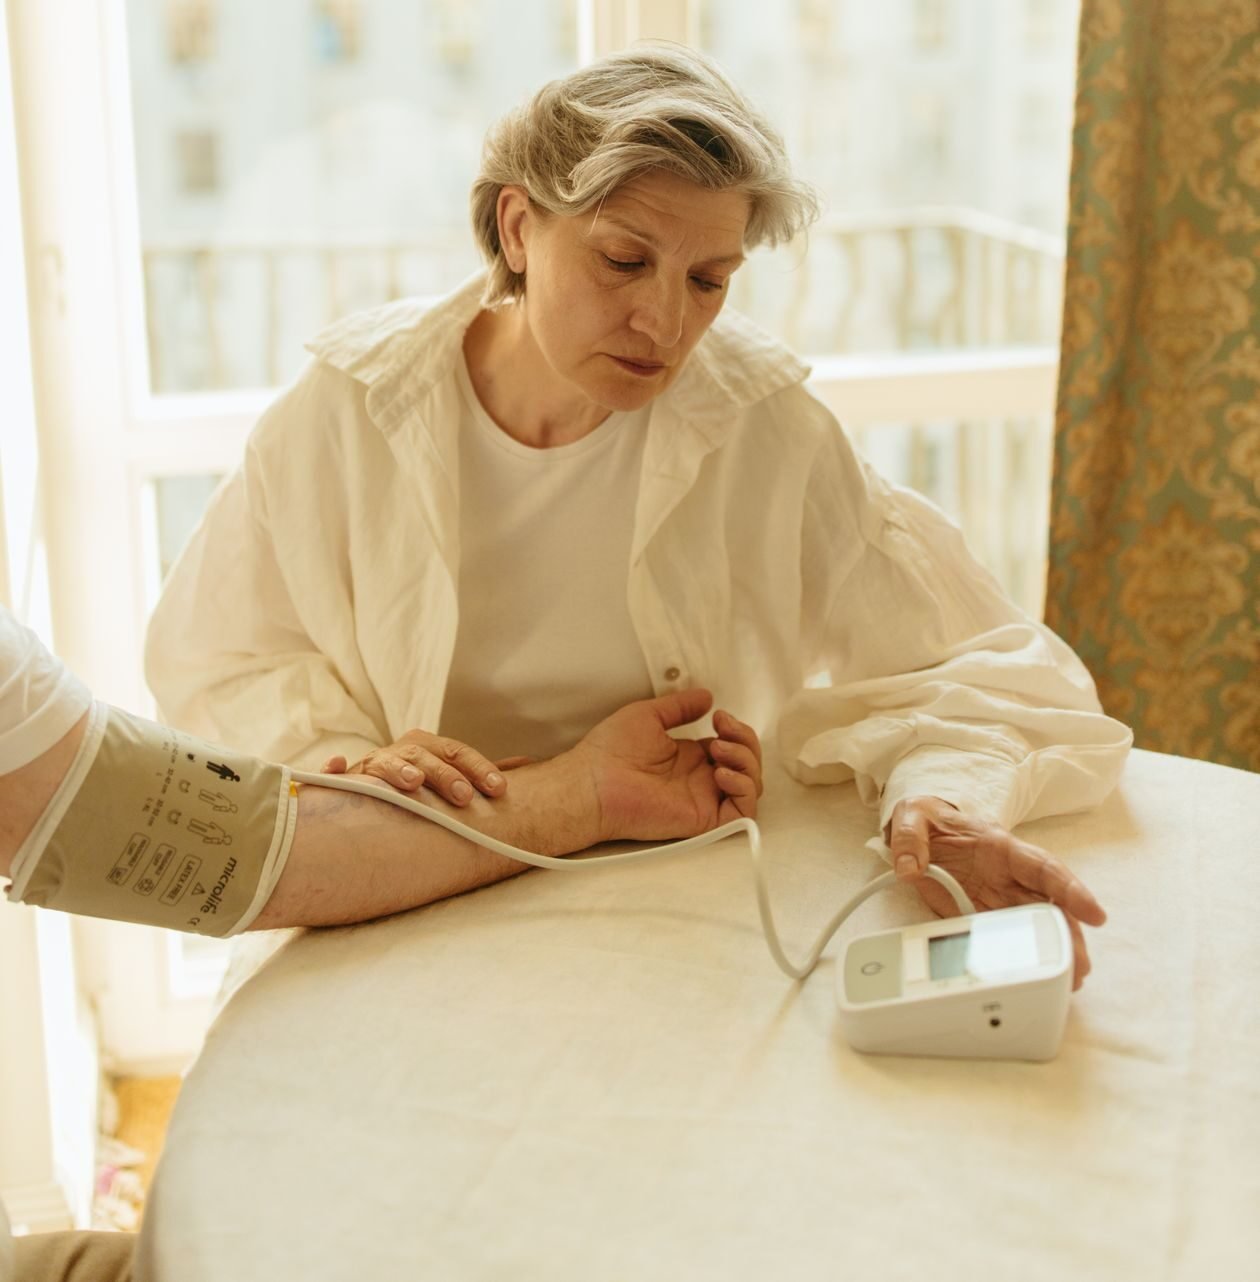
Medical note: This article is for general information only and is not medical advice. Share your readings with your doctor, and follow their advice on diagnosis and treatment.
Key Takeaways
- Avoid caffeine, smoking, and exercise for 30 minutes before a reading, and empty your bladder first.
- Sit quietly for at least 5 minutes with your back supported, feet flat, and arm at heart level.
- Place the cuff on bare skin, just above the bend of your elbow.
- Take two readings one minute apart, at the same time each day.
- The AHA recommends an automatic upper-arm cuff monitor. Wrist and finger monitors give less reliable readings.
- A cuff one size too small can raise systolic readings by nearly 5 mm Hg. Two sizes too small can add nearly 20 mm Hg.
Why Home Blood Pressure Monitoring Matters
High blood pressure is common and often has no symptoms. CDC data show that about 30% of U.S. adults report having hypertension. Among adults 65 and older, that share rises to about 60%.
Knowing how to take blood pressure at home helps in several ways. It shows your usual numbers, not just one tense moment at a clinic. It also helps your doctor see whether lifestyle changes or medicine are working. Some people have higher readings only at the doctor’s office. Others have normal office readings but high numbers at home. Home checks can reveal both patterns.
What You Need Before You Start
Before you learn how to take blood pressure at home, gather a few basics:
- A validated upper-arm monitor. The AHA recommends an automatic, cuff-style, upper-arm monitor.
- The right cuff size. Measure around the middle of your upper arm and match it to the cuff range.
- A chair with back support and a table to rest your arm on.
- A log. Use a notebook, a printable tracker, or your monitor’s app.
To find a validated device, check validatebp.org. This free listing, supported by the American Medical Association, shows monitors that passed independent review for clinical accuracy. Our professional blood pressure monitor reviews can help you compare models.
How to Take Blood Pressure at Home: Step by Step
Follow these steps each time. They match the AHA’s home monitoring guidance. Together, they cover how to take blood pressure at home the right way.
Step 1: Prepare for 30 Minutes
For 30 minutes before you measure, do not smoke, drink caffeine, or exercise. These can raise your blood pressure for a short time. Empty your bladder right before the reading, since a full bladder can also push numbers up.
Step 2: Sit Correctly
Sit in a chair with your back straight and supported. Keep both feet flat on the floor. Do not cross your legs. Rest your arm on a flat surface, such as a table, so the upper arm is at heart level.
Step 3: Rest for 5 Minutes
Stay still and quiet for at least five minutes before you start. Do not talk, watch the news, or use your phone. Relaxing first helps you get a true resting reading.
Step 4: Place the Cuff on Bare Skin
Remove clothing from the arm you are using. Do not measure over a sleeve. The AHA says the bottom of the cuff should sit directly above the bend of the elbow. The middle of the cuff should be at heart level. The cuff should be snug but not tight.
Step 5: Take Two Readings
Press start and stay still and silent while the cuff inflates and deflates. Wait one minute, then take a second reading. The AHA recommends two readings one minute apart each time you measure.
Step 6: Record Your Results
Write down both readings, plus the date and time. Many monitors store readings automatically or sync to an app. Note anything unusual, such as stress, poor sleep, or a missed dose of medicine.
Step 7: Measure at the Same Times Each Day
Take readings at the same time each day for a fair comparison. Many doctors suggest one set in the morning and one in the evening. Ask your doctor what schedule is best for you.

Why Cuff Size Matters So Much
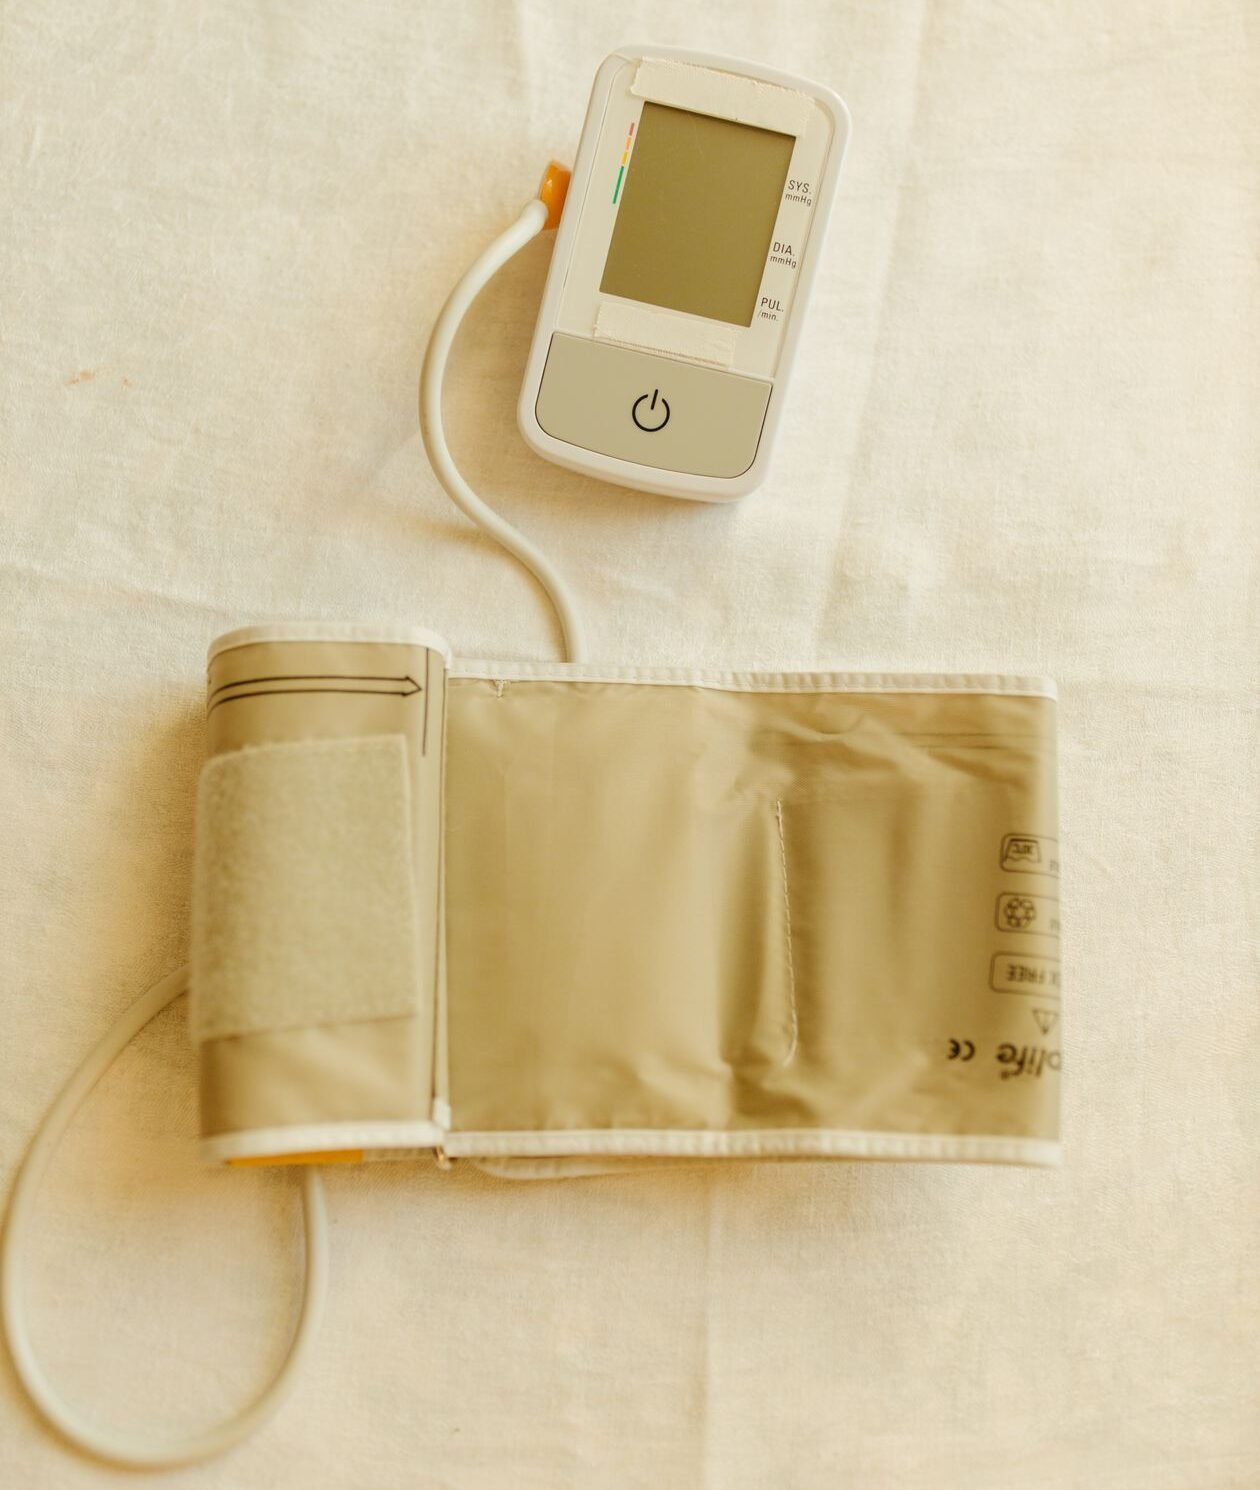
Using the wrong cuff is one of the most common home errors. A 2023 study in JAMA Internal Medicine, known as the Cuff(SZ) trial, tested this with 195 adults. As reported by TCTMD, a cuff one size too small raised systolic readings by nearly 5 mm Hg. A cuff two sizes too small raised them by nearly 20 mm Hg.
That kind of error can make normal blood pressure look high. To avoid it, measure the middle of your upper arm with a soft tape. Choose a monitor whose cuff range fits your number. Many brands sell large or extra-large cuffs separately.
Upper-Arm vs Wrist Monitors
The American Heart Association recommends upper-arm monitors. It says wrist and finger monitors are not recommended because they give less reliable readings.
Wrist monitors are more sensitive to body position. If your wrist is not exactly at heart level, the reading can be off. Some people cannot use an upper-arm cuff because of arm size or pain. If that is you, ask your doctor about the best option.
Smartwatches and fitness trackers are another step removed. Learn why in our guide on how fitness trackers measure blood pressure.
What Your Blood Pressure Numbers Mean
A reading has two numbers. The top number, systolic, is the pressure when your heart beats. The bottom number, diastolic, is the pressure between beats. Here are the AHA categories for adults:
| Category | Systolic (top) | Diastolic (bottom) | |
|---|---|---|---|
| Normal | Less than 120 | and | Less than 80 |
| Elevated | 120 to 129 | and | Less than 80 |
| Stage 1 high blood pressure | 130 to 139 | or | 80 to 89 |
| Stage 2 high blood pressure | 140 or higher | or | 90 or higher |
| Severe, contact a doctor right away | Higher than 180 | and/or | Higher than 120 |
One high reading does not mean you have high blood pressure. Your doctor looks at the average of many readings over time. If a reading is above 180/120 mm Hg, the AHA advises contacting your healthcare professional immediately. If you also have symptoms like chest pain, shortness of breath, weakness, vision changes, or trouble speaking, call 911.
How Often Should You Check?
There is no single schedule for everyone. Your doctor will tell you how often to measure based on your health and treatment. When you start a new medicine or change a dose, your doctor may ask for readings more often. Once your numbers are stable, you may check less often.
Whatever the schedule, consistency matters most. Measure the same way every time. That habit makes your log far more useful to your care team.
Tips for Seniors and Caregivers
Older adults are more likely to have high blood pressure, so home checks are common in this group. These tips make the process easier:
- Choose a monitor with a large display. Big numbers are easier to read.
- Pick a pre-formed or easy-wrap cuff. These are simpler to put on with one hand.
- Use memory or app features. Automatic storage reduces the need to write things down.
- Set a routine. Link readings to daily habits, like morning coffee or brushing teeth, but measure before the coffee.
- Help without talking. Caregivers can set up the cuff, then stay quiet during the reading.
How to Take Blood Pressure at Home Without Common Mistakes
- Talking during the reading. Even a short chat can raise your numbers.
- Crossing your legs. Keep both feet flat on the floor.
- Letting your arm hang down. An unsupported arm below heart level can raise the reading.
- Measuring over clothing. Always use bare skin.
- Using the wrong cuff size. A small cuff can add up to nearly 20 mm Hg.
- Skipping the rest period. Measuring right after walking in or climbing stairs gives high numbers.
- Taking just one reading. Two readings one minute apart give a better picture.
Heading to a checkup? Our guide on preparing for a blood pressure test covers the office side.
Why Readings Change During the Day
Blood pressure naturally rises and falls. It often climbs in the morning, dips at night, and reacts to stress, pain, food, and activity. That is why consistent timing matters.
Learn more in our guides on why blood pressure is higher in the morning and how pain affects blood pressure.
How to Check Your Monitor’s Accuracy
Even a validated monitor should be checked now and then. Bring it to your next doctor’s visit. Take a reading with your monitor and compare it with the office reading taken the same way. If the numbers are far apart, ask your care team for advice. Replace worn cuffs, and follow the maker’s guidance on batteries and service.
Frequently Asked Questions
What is the best time to take blood pressure at home?
Take readings at the same time each day. Many doctors suggest the morning, before medicine and breakfast, and again in the evening. Ask your doctor what schedule fits your plan.
Which arm should I use?
At first, check both arms. If one is consistently higher, use that arm for future readings, unless your doctor says otherwise.
Is it hard to learn how to take blood pressure at home?
No. Most people learn in a few days. Follow the same steps each time, and ask your doctor or pharmacist to watch you do it once. They can check your cuff size and position.
How many readings should I take?
The AHA recommends two readings one minute apart each time you measure. Record both.
Are wrist blood pressure monitors accurate?
The AHA does not recommend wrist or finger monitors because they give less reliable readings. An upper-arm cuff is the preferred choice.
When should I call my doctor?
Call your doctor if your readings are regularly in the high range, or if they change suddenly. Contact a healthcare professional right away if a reading is above 180/120 mm Hg. Call 911 if you also have symptoms such as chest pain or trouble speaking.
Final Thoughts
Knowing how to take blood pressure at home correctly gives you and your doctor a clearer picture. It shows how your heart health changes over time. Prepare for 30 minutes, sit correctly, rest for five minutes, and use a validated upper-arm cuff that fits. Take two readings one minute apart at the same times each day, and record them.
Share your log at every checkup. If you are unsure how to take blood pressure at home with your specific monitor, ask your pharmacist for a quick demo. With good habits and the right monitor, home readings can guide better decisions about your health.


Hi, I’m Mamon, the content creator behind this blog. I share my experience in blogging, WordPress, SEO, and affiliate marketing through honest product reviews, in-depth buying guides, and practical how-to articles. Every piece of content is thoroughly researched and written to help readers make informed decisions.