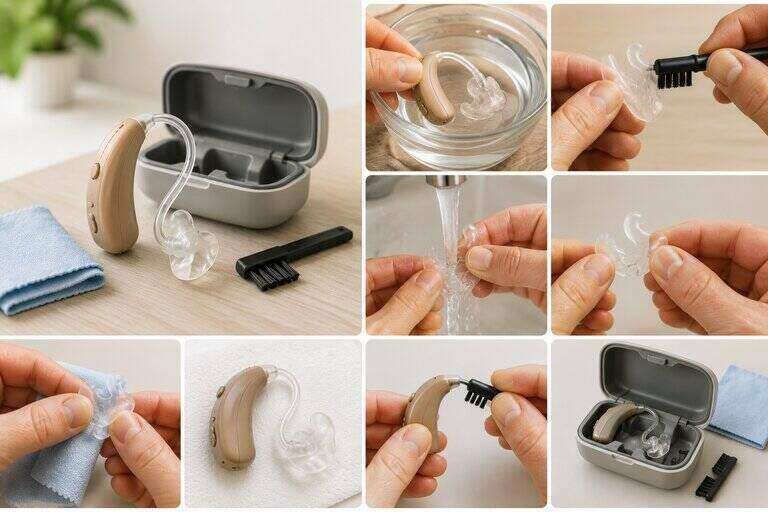
Knowing how to clean a hearing aid earmold properly protects both your hearing and your investment in the device. Earwax and moisture build up on it every day. Left alone, this buildup can muffle sound, cause whistling, or even damage the tubing. This guide walks U.S. readers through the exact daily and weekly cleaning routine, the supplies you need, and the mistakes that ruin earmolds prematurely. It also covers why earwax builds up in the first place. You will also learn when an issue needs professional attention instead of a DIY fix.
Key Takeaways
- Wipe your earmold daily and give it a deeper clean at least once a week.
- Warm water, mild soap, and a soft brush are usually all you need.
- Never use alcohol, sharp objects, or cotton swabs on the earmold or canal.
- Some earwax is normal and healthy. Only excess buildup is a problem.
- Persistent whistling or reduced sound quality often means the earmold needs attention.
What Is an Earmold, and Why Does It Need Cleaning?
An earmold is the custom piece that channels sound from a behind-the-ear (BTE) hearing aid into your ear canal. Its shape affects both comfort and sound quality. A well-fitted, clean earmold also helps prevent feedback whistling by sealing the ear canal against sound leakage.
For an earmold to work as intended, it needs to stay clean, intact, and free of cracks. Earwax, skin oils, and moisture accumulate on it every day you wear your device. That is exactly why a regular routine matters so much.
Supplies You Will Need
- A small, soft-bristle brush
- Warm water and mild, unscented soap
- A non-alcoholic disinfectant wipe
- An air blower bulb (avoid canned compressed air)
- A soft, absorbent cloth
- A wax pick or loop tool for stubborn buildup
What Each Cleaning Tool Actually Does
Understanding why each item matters makes the routine easier to stick with. The soft-bristle brush loosens dry wax from the sound outlet and vents without scratching the material. Warm water and mild soap dissolve oils and residue that a dry brush cannot remove on its own. A wax pick or loop tool reaches into narrow openings that a brush cannot access. This matters most for pieces with small vents.
The air blower bulb pushes moisture out of the tubing after washing. Trapped water inside the tube can encourage bacteria growth or muffle sound. Skip canned compressed air, which can force moisture and debris further into the tubing instead of out. Finally, a non-alcoholic disinfectant wipe finishes the job by reducing surface bacteria. It does this without drying out or cracking the material the way alcohol-based products can.
How to Clean a Hearing Aid Earmold: Daily Care
A quick daily routine prevents buildup from ever becoming a bigger problem. Before you put your device on each morning, take a moment to inspect it.
- Wipe the earmold with a soft, dry cloth to remove visible wax and oils.
- Check the sound outlet for any blockage.
- Dry off any moisture from the previous day before reattaching the device.
How to Clean a Hearing Aid Earmold: Weekly Deep Clean
Once a week, go beyond the quick wipe-down for a more thorough clean. Turn the device off and remove the earmold before you begin.
- Detach the earmold and tubing from the hearing aid body.
- Rinse the earmold under warm running water.
- Wash it gently with mild soap and your soft-bristle brush. An effervescent cleaning tablet works too. Just let the earmold soak for about 10 minutes.
- Wipe the surface with a non-alcoholic disinfectant to remove germs.
- Use the air blower to clear moisture from inside the tubing.
- Let the earmold and tubing air dry overnight with the sound outlet facing down.
- Reattach everything to the hearing aid the next morning once fully dry.
Soft Silicone vs. Hard Acrylic Earmolds
These pieces generally come in two materials. Knowing which one you have affects how to clean a hearing aid earmold safely. Soft silicone versions are flexible and comfortable, and they tolerate soap and water well. They can absorb odors over time if not dried thoroughly, though. Hard acrylic versions hold their shape longer and resist wear better. They can crack if exposed to heat or dropped on a hard surface.
The core weekly routine works for both materials. The main difference is drying time. Acrylic dries faster, while silicone may need a little longer air-drying to avoid trapping moisture in small vents. If you are unsure which material yours is made from, check with your audiologist. Some cleaning solutions suit one type better than the other.
How Climate and Lifestyle Affect Your Cleaning Schedule
The twice-weekly deep clean is a reasonable baseline, but your actual needs may differ. People who live in hot, humid climates often need to clean more frequently. Sweat and humidity both accelerate buildup inside the tubing. The same goes for anyone who exercises regularly while wearing their device, or who naturally produces more earwax than average.
On the other hand, some people find that cleaning less often works fine once they settle into a routine. Match your schedule to your actual wax production. Pay attention to how quickly it gets dirty and adjust from there. A fixed schedule does not fit every situation.
What to Avoid When Cleaning
A few common habits do more harm than good, even when well intentioned.
- Do not insert sharp objects like toothpicks or pipe cleaners into the earmold or tubing.
- Do not use cotton swabs, which tend to push wax deeper rather than remove it.
- Do not place it on a radiator or other heat source to dry. Heat can warp or melt the material.
- Do not blow into the tubing yourself, since your breath carries moisture that makes the problem worse.
- Do not clean it while it is still attached to the hearing aid body. The electronics are not water-friendly.
Disclaimer: Any small crack or tear in the tubing can lead to a total loss of sound. If you notice damage during cleaning, replace the part rather than continuing to use it.
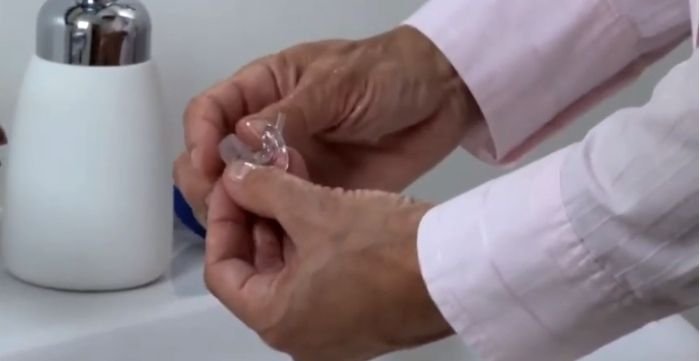
Watch: How to Clean a Hearing Aid With an Earmold
This walkthrough from Phonak, a major hearing aid manufacturer, demonstrates the full cleaning process step by step.
Notice how gently the earmold is handled throughout, especially around the tubing connection point.
Why Does Earwax Build Up in the First Place?
Your ear is naturally self-cleaning. Cerumen glands in the ear canal produce wax that protects the skin from bacteria, fungi, and insects. It also traps dust before it reaches the eardrum. This wax usually dries up and migrates outward on its own. It then falls away or can be gently wiped from the outer ear.
Wearing a device for extended periods can trap this wax against the skin instead of letting it migrate out naturally. This is part of why a regular routine matters more for people who wear one than for those who do not.
When Earwax Becomes a Problem
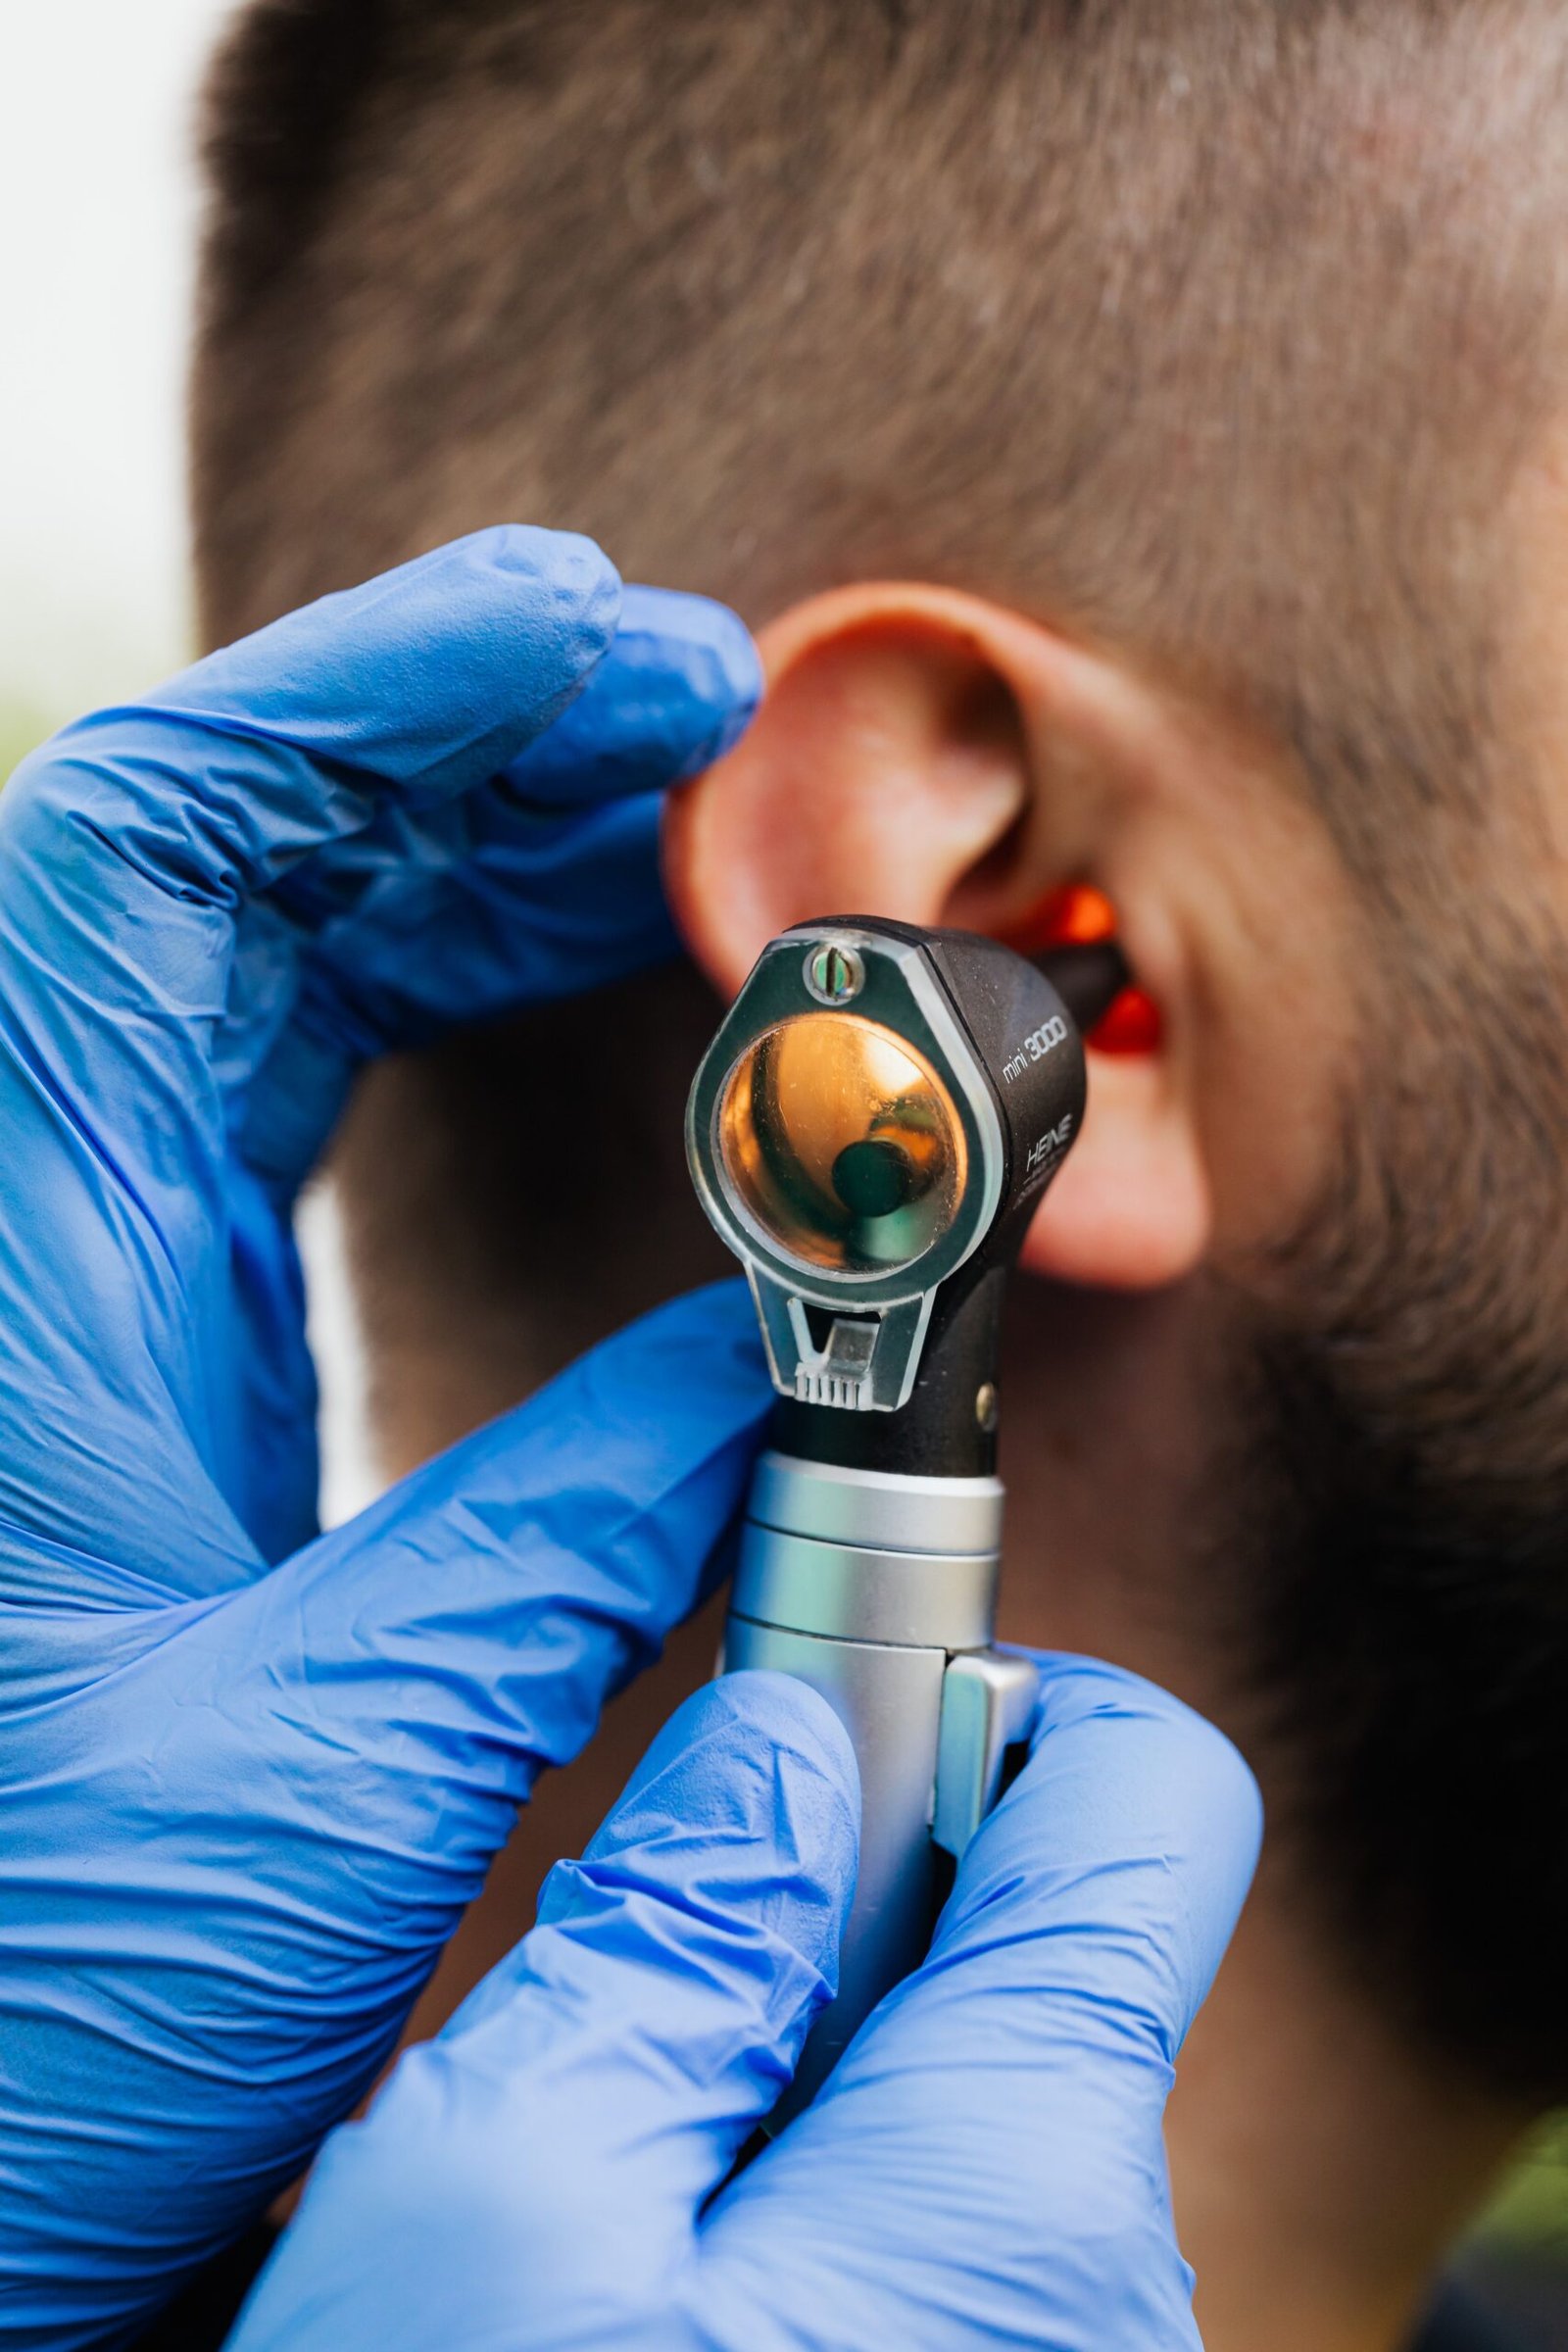
Some earwax is healthy and should be left alone. According to the American Academy of Otolaryngology-Head and Neck Surgery, earwax that is not causing symptoms or blocking the canal does not need removal at all. Watch for signs of an actual blockage instead. These include reduced hearing, a feeling of fullness in the ear, ringing, or a device that suddenly performs worse than usual.
Ironically, over-cleaning can make things worse by irritating the canal or pushing wax deeper. If you suspect a real blockage rather than routine buildup, see an audiologist or doctor. They can remove it safely rather than you attempting it at home.
Signs Your Earmold Needs Professional Attention
- Persistent whistling or feedback even after a thorough cleaning.
- Visible cracks, discoloration, or a hardened, brittle feel to the material.
- A noticeably looser or tighter fit than when the earmold was new.
- Sound that stays muffled even after clearing visible wax from the outlet.
Most audiologists recommend a professional check at least once a year. Normal wear and changes to your ear shape over time can affect the fit even when the material still looks fine.
Benefits of Cleaning Your Earmold Regularly
Once the routine for how to clean a hearing aid earmold becomes second nature, the payoff shows up in several ways.
- Removing dirt, dust, and wax buildup keeps the sound outlet clear.
- A clean earmold helps the entire hearing aid work as designed.
- Proper cleaning reduces the risk of ear infections from trapped bacteria or moisture.
- Regular care extends the useful life of the earmold itself, saving you replacement costs.
Related Hearing Health Guides
If you are still getting comfortable with your device, one guide can help. Our guide on how to put a hearing aid in your ear correctly covers proper insertion for every major style. Persistent whistling is not always a cleaning issue either. Our guide on how to adjust hearing aid volume covers another common cause worth ruling out.
If cleaning alone does not solve a performance issue, try one more resource.
Frequently Asked Questions
How often should I clean my hearing aid earmold?
Wipe it daily and do a deeper clean at least once a week. People with heavier earwax production or a humid climate may need to clean more often.
Can I use alcohol wipes to clean my earmold?
No. Alcohol can dry out and crack the material over time. Stick to non-alcoholic disinfectant wipes made for hearing devices.
Is it safe to use cotton swabs on the earmold?
No. Cotton swabs tend to push wax deeper into small openings rather than removing it. This can block the sound outlet entirely.
What should I do if my earmold smells bad?
An odor usually means moisture is trapped somewhere in the tubing. Make sure it is fully dry before each use, and consider a deeper weekly clean.
How do I know if my earmold needs to be replaced instead of cleaned?
Cracks, a hardened texture, or a fit that no longer feels secure all point to replacement rather than cleaning.
Can too much earwax damage my hearing aid?
Yes. Wax buildup can block the sound outlet and cause muffled sound, feedback, or reduced performance over time.
Should I clean my earmold with the hearing aid still attached?
No. Detach the earmold first, since the electronic components in the hearing aid body are not water-friendly.
Do soft silicone and hard acrylic earmolds need different cleaning steps?
The core routine for how to clean a hearing aid earmold stays the same for both materials. Silicone tolerates soap slightly better, while acrylic dries faster and cracks more easily if exposed to heat.
Can I speed up drying time overnight?
A small fan pointed at the drying tray can help. Avoid direct heat sources like a radiator or hair dryer, since these can warp the material.
Bottom Line
Learning how to clean a hearing aid earmold properly is a small daily habit that pays off in clearer sound and a longer-lasting device. Wipe it down every day and deep clean it weekly. Skip the sharp tools and household cleaners that cause more harm than good. If whistling, discomfort, or muffled sound persists after a thorough cleaning, let your audiologist take a look. That beats guessing at the cause yourself.

Hi, I’m Mamon, the content creator behind this blog. I share my experience in blogging, WordPress, SEO, and affiliate marketing through honest product reviews, in-depth buying guides, and practical how-to articles. Every piece of content is thoroughly researched and written to help readers make informed decisions.
Leave a Reply