

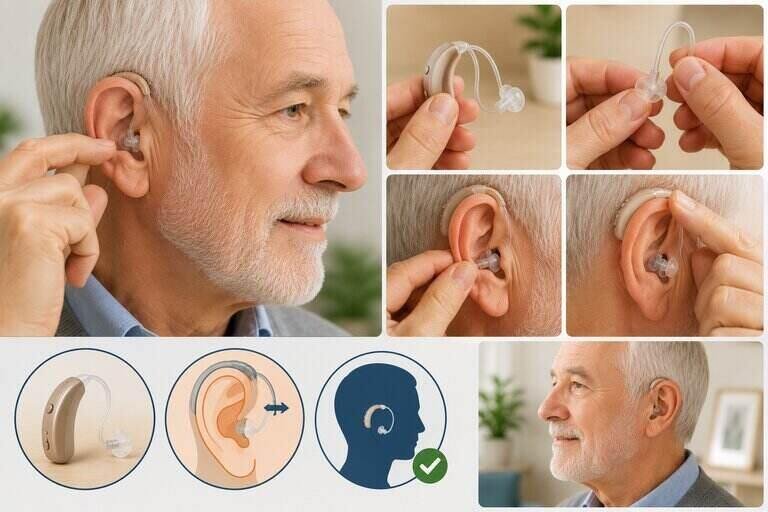

Learning how to put a hearing aid in your ear correctly protects both the delicate skin of your ear canal and the device itself. Getting it wrong can mean discomfort or whistling feedback. It can even mean a device that pops out the moment you turn your head. This guide walks U.S. readers through the exact steps for every major style. It also covers the mistakes to avoid and what to do once your device is in.
Key Takeaways
- Always identify the left and right device first using the color-coded or lettered markings.
- Behind-the-ear and custom in-ear styles use different insertion techniques.
- Never force a device into place. Gentle, steady pressure is all that is needed.
- Whistling usually means a fit problem, not a broken device.
- Give yourself several weeks to adjust to wearing a hearing aid full time.
Before You Begin: General Tips for Any Style
A few habits make the process easier no matter which type of device you wear. Wash and dry your hands first, since oil and moisture can damage sensitive electronics. Work over a soft surface like a towel or a made bed in case the device slips from your fingers.
Every hearing aid is marked for a specific ear. Most use a red dot for the right ear and a blue dot for the left. This follows the same color convention used in medicine generally. Some models use letters instead, with R for right and L for left. Confirm this marking every time until it becomes automatic. Wearing a device in the wrong ear will feel and sound off immediately. It also helps to insert your device in front of a mirror, at least for the first few weeks. This lets you see exactly where the canal opening is and adjust your angle if needed.
How to Put a Hearing Aid in Your Ear: Behind-the-Ear (BTE) and RIC Styles
Behind-the-ear and receiver-in-canal styles share a similar insertion method. Both have a case that sits behind the ear, connected to a tube or wire leading into the canal.
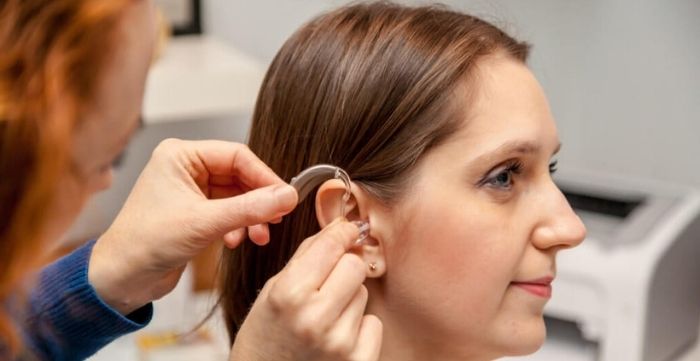
- Hook the case over the top of your ear, letting it rest naturally against your head.
- Hold the earpiece between your thumb and forefinger, near where the tube or wire bends.
- Turn the earpiece so it faces your ear canal opening.
- Gently guide the earpiece into the canal with steady, light pressure. Never push hard enough to reach the eardrum.
- Check that the bend of the tube or wire sits flush against the side of your head. This confirms a proper seal.
- Repeat the process for the other ear, since each device only fits its assigned side.
How to Put a Hearing Aid in Your Ear: Custom Styles (ITE, ITC, CIC, and IIC)
Custom in-the-ear devices are molded to your specific ear canal. This makes the insertion technique a little different from BTE models.
- Confirm the correct ear using the same red or blue marking system.
- Hold the device upright between your fingertips, with the earpiece facing your ear canal.
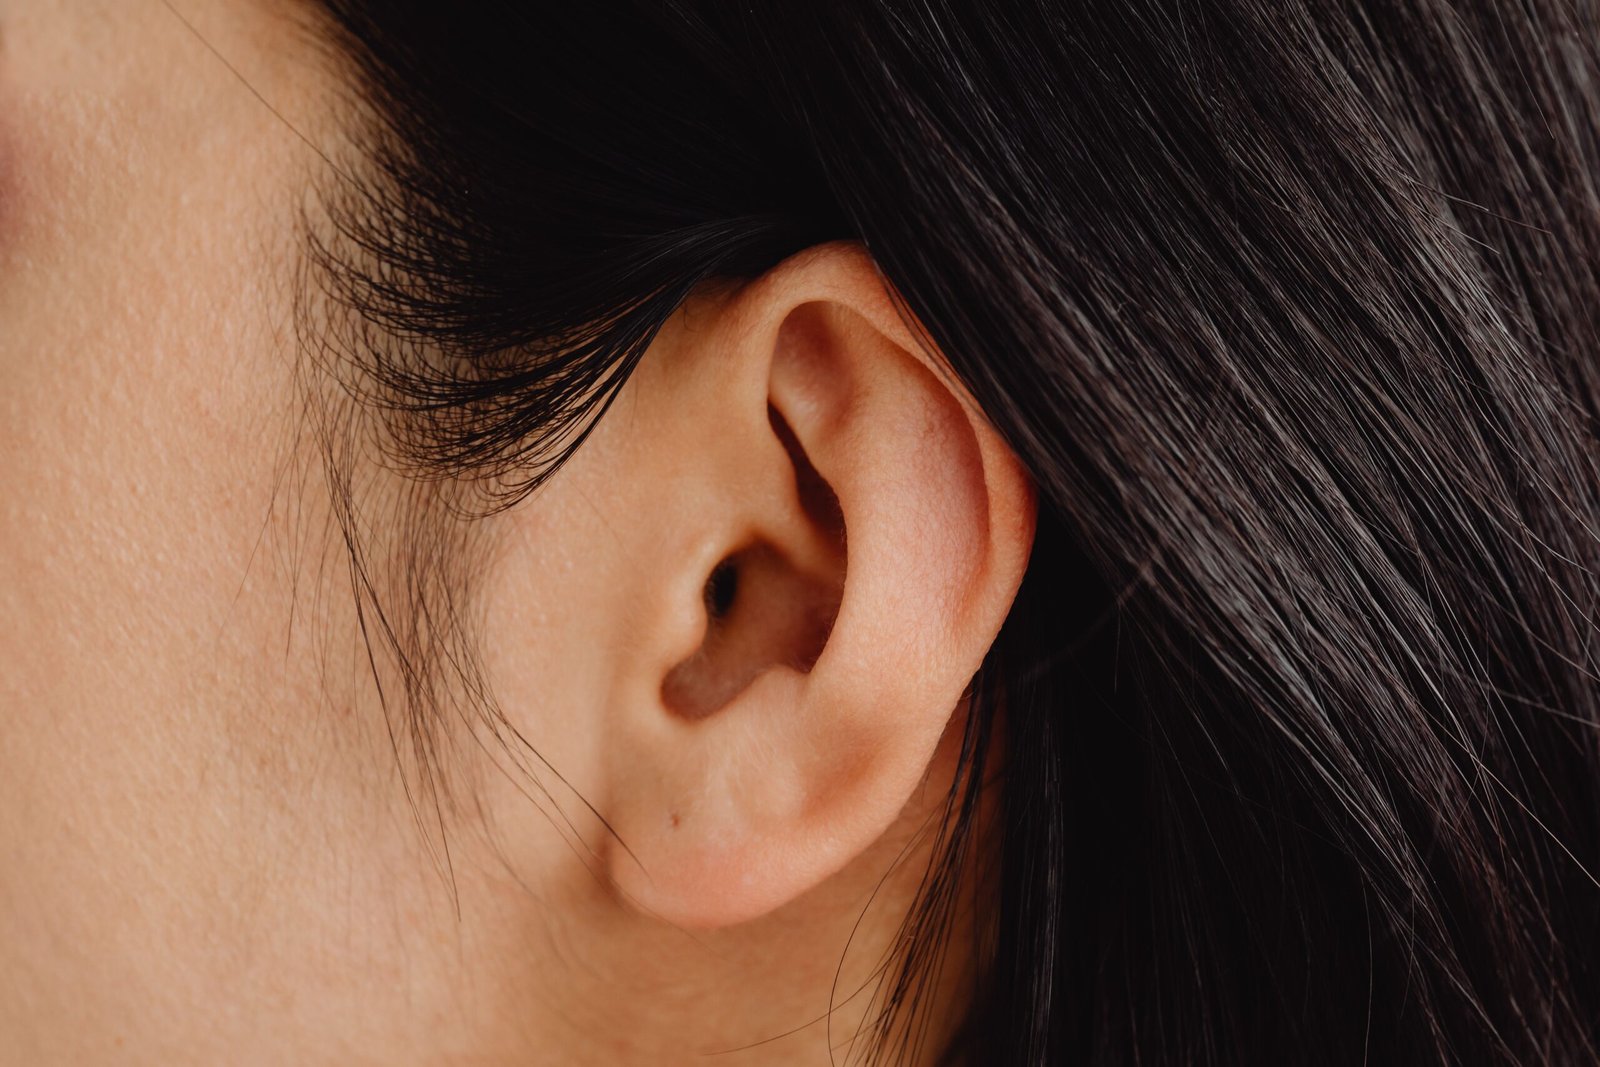
- Gently pull your earlobe outward and slightly upward to straighten the canal.
- Push the device in with light, steady pressure while continuing to hold the ear open.
- A small twist can help it settle into the natural curve of your canal.
- Stop pushing once you feel gentle resistance. The device should sit flush without visible gaps.
Completely-in-canal (CIC) and invisible-in-canal (IIC) styles use the same basic motion, just at a smaller scale. Both sit deep enough in the canal that they are barely visible. Many people find them slightly trickier to grip and remove at first.

What to Expect at Your First Fitting Appointment
Your audiologist will show you exactly how to put a hearing aid in your ear during your fitting appointment. You will also get to practice with supervision before heading home. This hands-on session is the best time to ask questions. Your audiologist can watch your technique and correct small mistakes immediately, rather than leaving you to troubleshoot alone later.
Bring reading glasses if you use them, since seeing the small markings clearly matters more than people expect. Ask your audiologist to demonstrate insertion and removal at least twice. Try it yourself in the office at least once before you leave. Most practices also offer a follow-up appointment within the first few weeks. This visit is specifically for fine-tuning fit and answering any new questions that come up once you are wearing the device daily.
Tools and Tips for Limited Dexterity or Vision
Arthritis, tremors, or limited vision can make learning how to put a hearing aid in your ear more challenging. Several tools can help. Many manufacturers offer insertion and removal tools. These are small plastic sticks or hooks designed to grip the device without requiring a precise pinch grip. A magnifying mirror with good lighting also makes a noticeable difference for anyone who struggles to see the canal opening clearly.
If dexterity remains a challenge even with these tools, ask your audiologist about styles designed for easier handling. Larger BTE cases are generally simpler to grip than tiny CIC devices. Some manufacturers now offer rechargeable models with magnetic charging docks, which remove the need to handle small batteries altogether.
Common Mistakes to Avoid
- Forcing the device in when you feel resistance instead of repositioning and trying again.
- Mixing up the left and right devices, which throws off sound balance immediately.
- Inserting a device with wet or oily hands, which can damage the microphone or speaker.
- Ignoring a persistent whistling sound instead of checking the fit.
- Skipping the “pull the earlobe” step for custom devices, which makes insertion harder than it needs to be.
Watch: How to Insert Different Hearing Aid Styles
This video is from Starkey, a major hearing aid manufacturer. It demonstrates proper insertion and removal technique for custom devices in just a few steps.

Notice how little force is actually needed once the ear is positioned correctly.
How to Remove a Hearing Aid Safely
Removal is usually easier than insertion, but rushing can still cause discomfort. For BTE and RIC styles, gently lift the earpiece out of the canal first. Then unhook the case from behind your ear. For custom styles, pull the earlobe outward slightly to loosen the seal, then rock the device gently while pulling it free. Some CIC and IIC models include a small removal cord or handle specifically to make this easier. They can be difficult to grip otherwise.
Getting Used to Wearing a Hearing Aid
According to the National Institute on Deafness and Other Communication Disorders, it takes time and practice to adjust to a new device. This is completely normal. Your own voice may sound unusually loud at first, a sensation audiologists call the occlusion effect. This typically fades as your brain adapts to processing amplified sound again.
Start in quiet environments before moving to noisier settings like restaurants or family gatherings. Reading aloud or listening to familiar music can help speed up the adjustment period. If sounds still feel overwhelming after several weeks, schedule a follow-up appointment. Your audiologist can fine-tune the settings rather than leaving you to push through discomfort alone.
When to Call Your Audiologist
Persistent whistling is one of the most common reasons people call their audiologist. According to the Hearing Industries Association, feedback usually points to one of a few causes: a poor seal, earwax buildup, damaged tubing, or a volume setting that is simply too high. None of these require replacing the device, just an adjustment or a professional cleaning.
Also call your audiologist if insertion is consistently painful, or if you notice drainage or bleeding from the ear canal. The same goes for a device that does not seem to help even after the adjustment period. These signs may point to an earwax blockage, an infection, or a fit that needs to be remolded. They are not usually a sign of poor technique on your part.
Caring for Your Hearing Aid Every Day
Good daily habits extend the life of your device and reduce insertion problems over time. Wipe it down with a soft, dry cloth each night. Store it in a dry, ventilated case, not a sealed container. Keep it away from heat sources, hairspray, and moisture, including steam from a hot shower. Turn the device off when it is not in use to conserve the battery. Replace batteries or recharge on a consistent schedule, so you are never caught with a dead device before an important call or meeting.

Related Hearing Health Guides
If you are still deciding which device style fits your lifestyle, one guide can help. Our guide on how to select a hearing aid covers styles, features, and current FDA rules for U.S. buyers. To understand your specific degree of hearing loss first, see our guide on what level of hearing loss requires a hearing aid.
Once your device is properly inserted, keeping it clean matters just as much. Our guide on how to clean a hearing aid earmold covers the basics. Our guide on how to adjust hearing aid volume is worth a look if sounds feel too loud or too soft after insertion.
Frequently Asked Questions
What is the best way to learn how to put a hearing aid in your ear?
Follow the color-coded markings to confirm the correct ear, then use gentle, steady pressure rather than force. Your audiologist can walk you through it hands-on at your fitting appointment.
Why does my hearing aid whistle after I put it in?
Whistling usually means the device is not sealed properly, or there is earwax blocking the canal. Reinserting it often solves the problem immediately.
Is it normal for insertion to feel uncomfortable at first?
A little pressure is normal, but sharp pain is not. If insertion consistently hurts, have your audiologist check the fit.
Can I put a hearing aid in the wrong ear by accident?
Yes, and it will usually sound noticeably wrong since each device is programmed for that specific ear. Always check the marking first.
How long does it take to get used to wearing a hearing aid?
Most people need several weeks of consistent daily wear before sounds feel natural and insertion feels routine.
Should I remove my hearing aid every night?
Yes, for most standard styles. Removing the device nightly lets your ear canal breathe. It also gives you a chance to clean the device before the next day.
What should I do if I cannot grip a small CIC device to remove it?
Ask your audiologist about a removal cord or handle, which many custom devices include specifically for this reason.
Are insertion tools worth buying?
For many people, yes, especially if arthritis or limited dexterity makes a precise pinch grip difficult. Ask your audiologist which tool fits your specific device model.
Can a family member help me learn proper technique?
Absolutely. Having a second set of eyes during your first few attempts often speeds up the learning curve considerably.
Bottom Line
Once you know how to put a hearing aid in your ear correctly, the daily routine becomes second nature. This usually happens within a few weeks. Identify the correct ear, use gentle and steady pressure, and never force a device that is not sliding in easily. If whistling, discomfort, or poor sound quality persists, talk to your audiologist. A quick adjustment usually solves it, rather than needing a new device. With a little patience, inserting your hearing aid will feel as automatic as putting on your glasses.


Hi, I’m Mamon, the content creator behind this blog. I share my experience in blogging, WordPress, SEO, and affiliate marketing through honest product reviews, in-depth buying guides, and practical how-to articles. Every piece of content is thoroughly researched and written to help readers make informed decisions.