Cleaning around brackets and wires is one of the hardest parts of wearing braces. Food gets stuck, plaque builds up fast, and threading string floss under every wire can take ten minutes or more. That is why so many orthodontists recommend a water flosser for braces. Used correctly, a water flosser with braces can clean around brackets in about two minutes and help protect your gums and enamel until your braces come off.
This step-by-step guide shows you how to use a water flosser with braces, which tip and pressure to choose, common mistakes to avoid, and what the research says.
Key Takeaways
- A water flosser with braces cleans around brackets and under wires much faster than string floss with a threader.
- In a 2008 study of 105 teens with braces, a water flosser with an orthodontic tip removed about three times more plaque than string floss.
- Use an orthodontic tip, start on a low setting, and trace each bracket from above and below.
- Use your water flosser once a day, ideally after brushing at night.
- Keep regular orthodontic and dental checkups, since no home tool removes hardened tartar.
Why Braces Make Cleaning So Hard
Braces add dozens of tiny ledges to your teeth. Each bracket, band, and wire creates a new place for food and plaque to hide. If plaque sits around brackets for weeks, it can lead to:
- White spot lesions. These chalky marks around brackets are early enamel damage that can remain after braces come off.
- Swollen, bleeding gums. Gum tissue can become puffy and tender when plaque builds up.
- Cavities. Trapped food and plaque raise the risk of decay next to brackets.
- Bad breath. Food stuck under wires breaks down and causes odor.
String floss still works, but threading it under each wire is slow and frustrating. Many teens and adults simply stop. A water flosser with braces solves that problem by flushing plaque out in a fraction of the time.
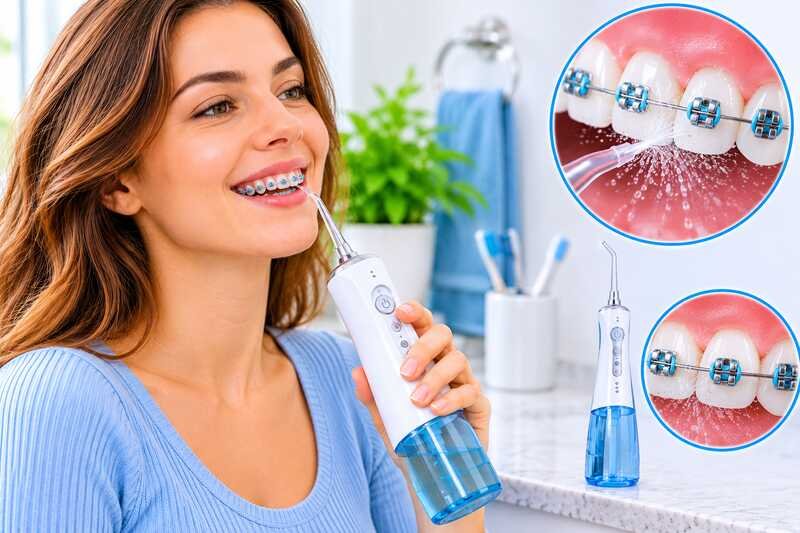
Does a Water Flosser Work With Braces? What the Research Says
Yes. The best-known study on this topic looked at 105 adolescents with fixed braces over four weeks. The group that used a water flosser with an orthodontic tip after brushing removed about three times as much plaque as the group using string floss with a threader, and about five times as much as brushing alone. The water flosser group also reduced bleeding 26% more than the floss group. You can read the study summary from Waterpik. The study was funded by Waterpik, so treat it as helpful but not independent.
Comfort matters too. In the same study, 94% of water flosser users said it was very easy or somewhat easy to use, compared with 53% in the floss group, according to an Orthodontic Products report on the study. An easier routine is a routine you are more likely to keep for the full length of treatment.
For a broader look at the evidence, read do water flossers work.
What You Need Before You Start
To use a water flosser with braces, gather these basics:
- A water flosser with adjustable pressure. Countertop models give the most control, while cordless models are great for travel.
- An orthodontic tip. This tip has a small, tapered brush on the end that sweeps around brackets while the water flushes.
- Lukewarm water. It feels more comfortable on teeth that may be sore after adjustments.
- A soft toothbrush and fluoride toothpaste, since you should always brush first.
If you do not own a water flosser yet, compare models in our guide to the best water flosser for braces.
How to Use a Water Flosser With Braces: Step by Step
Follow these steps once a day. Most people find that night, after brushing, works best.
- Brush first. Brush your teeth, brackets, and gumline for two minutes with fluoride toothpaste. This loosens plaque so the water flosser can rinse it away.
- Fill the tank with lukewarm water. Fill it to the top so you can finish without stopping.
- Attach the orthodontic tip. Push it in until it clicks so it does not leak.
- Set the lowest pressure. Start low, especially in the first week or after a wire adjustment.
- Lean over the sink. Put the tip in your mouth before you turn the flosser on.
- Close your lips slightly. This stops splashing. Let water drain from your mouth into the sink.
- Start with your back teeth. Aim the tip at the gumline at a 90-degree angle.
- Trace each bracket. Glide the tip along the gumline, then trace the top and bottom edge of each bracket. Pause briefly between teeth.
- Clean under the wire. Angle the tip slightly so the stream flows between the wire and the tooth.
- Clean the inside surfaces. Trace the gumline on the tongue side of your teeth too.
- Turn it off before removing it. Then empty any leftover water.
The whole process usually takes two to three minutes with braces, compared with about one minute without.
Choosing the Right Tip for Braces
The tip makes a big difference when you use a water flosser with braces. Here are the most common options:
| Tip | What it does | When to use it |
|---|---|---|
| Orthodontic tip | Tapered brush plus water stream | Daily cleaning around brackets and wires |
| Classic jet tip | Focused water stream | Under wires and between teeth |
| Plaque-seeking tip | Soft bristles around the stream | Bands, implants, or bridges |
| Pik pocket or soft tip | Low-pressure, soft tip | Very sore or swollen gums |
Most people with braces do best with an orthodontic tip for daily use. Replace it every three months, since the small brush wears faster than a plain jet tip. Learn more in our guide to water flosser tips.
Best Pressure Settings for Braces
Pressure is a balance. Too low and you will not move plaque. Too high and you may irritate gums that are already tender from orthodontic treatment.
- First week: Use the lowest setting while you learn the technique.
- After one to two weeks: Increase one level at a time until you reach a medium setting.
- After adjustments: Drop back to a lower setting for a few days if your teeth feel sore.
- If gums bleed: Light bleeding is common at first. If it lasts more than two weeks, tell your orthodontist.
For a full guide to pressure, read water flosser pressure settings.
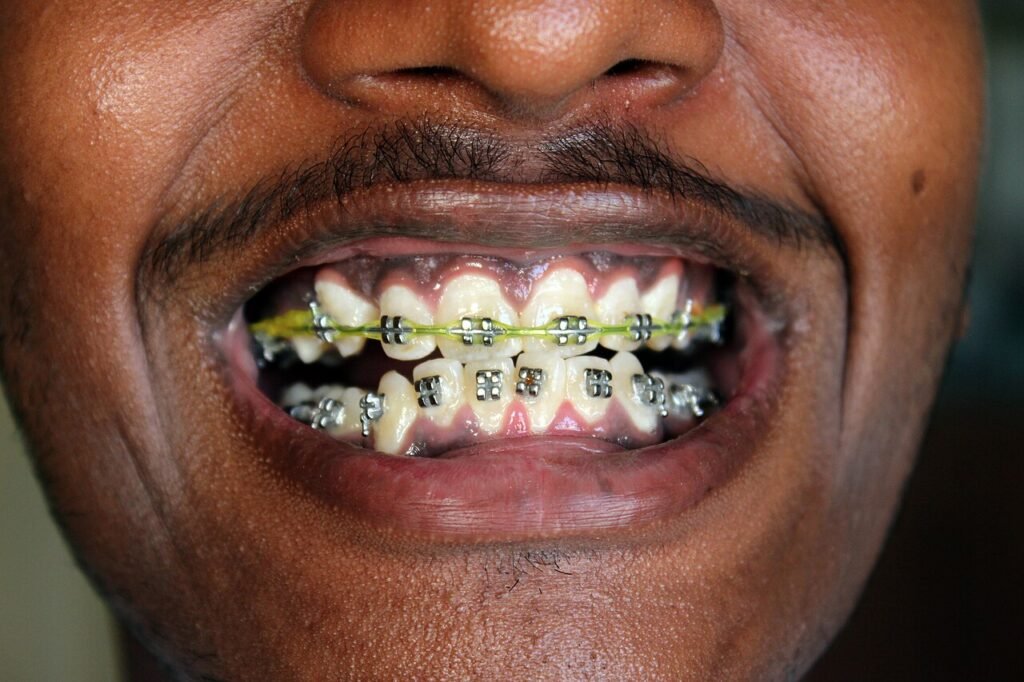
Photo: Suyash Dwivedi / Wikimedia Commons (CC BY-SA 4.0)
Water Flosser With Braces vs String Floss and Threaders
Here is how the two methods compare for people with braces.
| Factor | Water flosser with braces | String floss and threader |
|---|---|---|
| Time per day | About 2 to 3 minutes | Often 10 minutes or more |
| Plaque removal around brackets | Very good | Good when done carefully |
| Ease of use | Easy after a few days | Fiddly and slow |
| Gum comfort | Gentle on low settings | Can snap into gums |
| Likelihood of daily use | High | Lower for many teens |
Many orthodontists suggest using a water flosser daily and string floss with a threader once or twice a week for tight contacts. For more detail, see our comparison of water flosser vs floss.
Common Mistakes With a Water Flosser and Braces
Avoid these mistakes to get the best results:
- Skipping brushing. A water flosser does not replace brushing. Always brush first.
- Starting on high pressure. It can hurt and make you quit. Build up slowly.
- Only cleaning the front teeth. Back molars with bands trap the most food.
- Missing the bracket edges. Trace above and below each bracket, not just between teeth.
- Rushing. With braces, give yourself two to three minutes.
- Using a worn tip. A flattened orthodontic brush cleans poorly. Replace it every three months.
- Leaving water in the tank. Empty and dry it to prevent mold.
Daily Braces Care Routine
Using a water flosser with braces works best as part of a simple daily routine:
| Time | Step |
|---|---|
| Morning | Brush for two minutes with fluoride toothpaste |
| After meals | Rinse with water, or brush if you can |
| Night | Brush for two minutes, then use your water flosser for two to three minutes |
| Weekly | String floss with a threader on tight spots, if your orthodontist recommends it |
| Every 3 months | Replace your orthodontic tip and toothbrush head |
Foods that are sticky, chewy, or hard can damage brackets and trap more plaque. Follow your orthodontist’s food list, and use your water flosser after any meal that leaves food stuck in your braces.
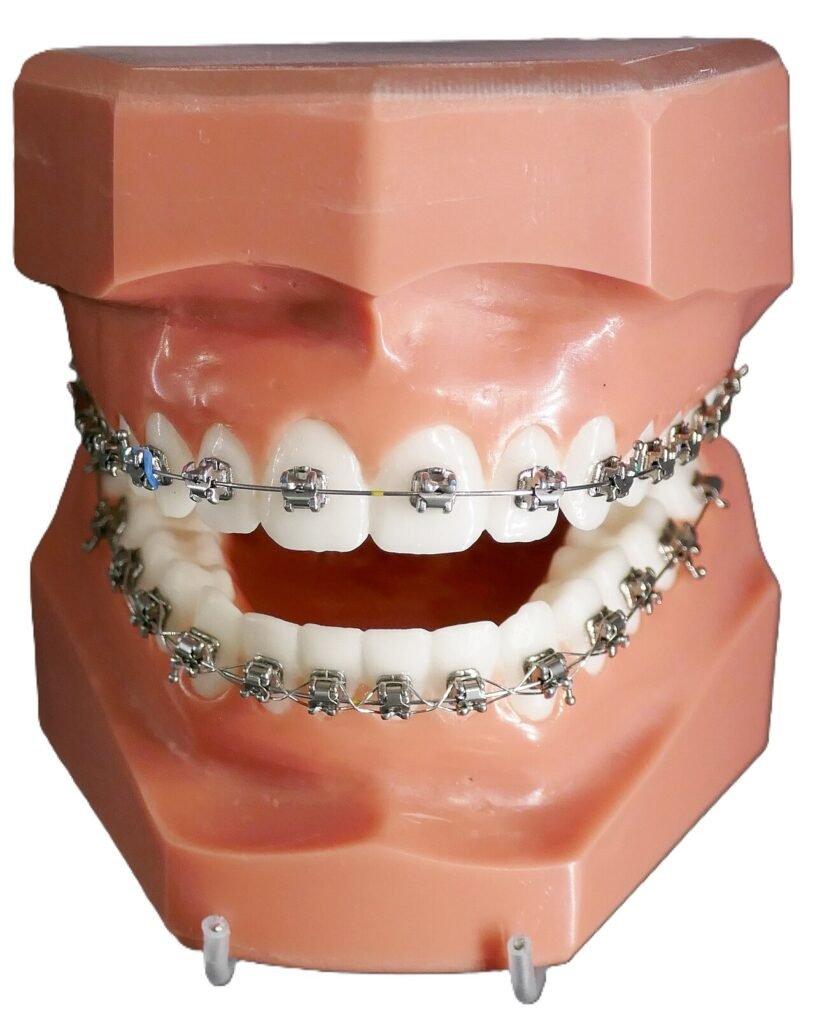
Photo: Tiia Monto / Wikimedia Commons (CC BY 4.0)
Using a Water Flosser With Clear Aligners
Clear aligners such as Invisalign are removable, so cleaning is easier than with fixed braces. Many aligner patients still have small tooth-colored bumps called attachments bonded to their teeth. Plaque can collect around these bumps. A water flosser with braces settings works for aligner patients too:
- Take out your aligners before you brush and floss.
- Brush first, then use your water flosser along the gumline and around each attachment.
- Clean your aligners separately as your orthodontist recommends. Do not put aligners in the water flosser stream at high pressure.
- Put your aligners back in only after your teeth are clean, so you do not trap food against your teeth.
What to Do on Sore Days and After Adjustments
Teeth often feel sore for two to four days after your braces are tightened or a new wire is placed. You should still clean every day, but adjust your routine:
- Lower the pressure by one or two levels.
- Use warm water, which feels gentler on tender teeth and gums.
- Switch to a soft tip if the orthodontic brush feels too firm.
- Take a little more time and move slowly around each bracket.
If a bracket breaks, a wire pokes your cheek, or a band comes loose, do not try to fix it with the water flosser. Clean gently around the area and call your orthodontist.
Signs Your Braces Cleaning Routine Is Working
How can you tell your water flosser with braces routine is doing its job? Look for these signs over a few weeks:
- Gums around brackets look pink and firm, not red and puffy.
- Less bleeding when you brush or floss.
- No food left behind after you finish cleaning.
- No chalky white marks forming around brackets.
- Positive feedback from your orthodontist or hygienist at checkups.
If you notice white marks, swollen gums, or ongoing bleeding, mention it at your next visit. Your orthodontist may suggest a different tip, extra fluoride, or a professional cleaning.
Tips for Teens Using a Water Flosser With Braces
Teens are the largest group wearing braces, and consistency can be tough. These tips help:
- Keep the flosser on the bathroom counter so it is easy to see and use.
- Use it in the same order every night: brush, floss, done.
- Try a cordless model in the shower to avoid splashing.
- Set a two-minute song or timer to make the routine feel shorter.
- Parents can check in once a week and look for puffy gums around brackets.
Water Flosser With Braces: Countertop or Cordless?
Both types work with braces. The right choice depends on your space and routine.
| Feature | Countertop | Cordless |
|---|---|---|
| Pressure settings | Usually about 10 | Usually 2 to 5 |
| Water per fill | 90 seconds or more | About 30 to 60 seconds |
| Shower use | No | Many models |
| Travel and school trips | Not ideal | Easy to pack |
| Best for | Daily home use with braces | Travel or small bathrooms |
For home use, a countertop model with an orthodontic tip is usually the easiest. For portable options, see our list of the best water flosser cordless models.
Frequently Asked Questions
Can I use a water flosser with braces every day?
Yes. Once a day is ideal for most people with braces. Use it after brushing at night.
Does a water flosser replace flossing with braces?
For many people, a water flosser is the main daily cleaning tool between teeth. Your orthodontist may still suggest string floss on tight spots a few times a week.
Will a water flosser damage my braces?
No, when used as directed. Water flossers are designed to be safe around brackets and wires. Avoid pointing a high-pressure stream directly at a loose bracket, and tell your orthodontist if a bracket comes off.
What pressure should I use with braces?
Start on the lowest setting and work up to a medium setting over one to two weeks. Lower the pressure for a few days after adjustments.
Can kids use a water flosser with braces?
Yes. Younger kids should use it with adult supervision until they can do it on their own.
How long does it take to use a water flosser with braces?
Most people need two to three minutes once they learn the technique. Expect it to take a little longer in the first week. Tracing each bracket from above and below is the step that makes the biggest difference, so do not rush it.
Conclusion
A water flosser with braces is one of the easiest ways to keep brackets, wires, and gums clean during orthodontic treatment. Brush first, use an orthodontic tip, start on a low setting, and trace each bracket from above and below. With a steady routine, you can protect your enamel and gums and enjoy a healthier smile when your braces come off.
Ready to choose a model? Start with our guide to the best water flosser for braces, or learn the basics in how to use a water flosser.
Health note: This article is for general information only and is not medical advice. Follow your orthodontist’s instructions for cleaning around your braces.

Hi, I’m Mamon, the content creator behind this blog. I share my experience in blogging, WordPress, SEO, and affiliate marketing through honest product reviews, in-depth buying guides, and practical how-to articles. Every piece of content is thoroughly researched and written to help readers make informed decisions.
Leave a Reply