

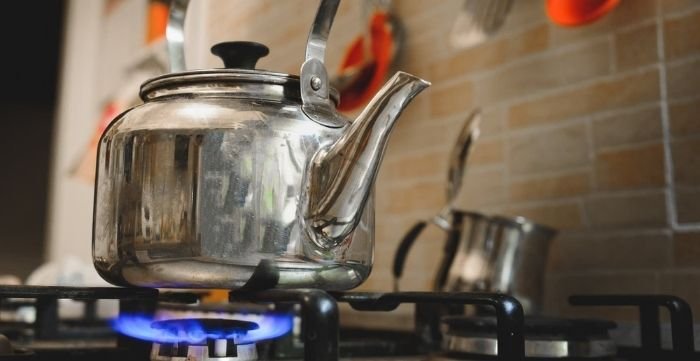
Learning how to make distilled water with a kettle is a useful skill for anyone who wants pure water without buying a commercial machine. Distilled water has almost no impurities, minerals, or contaminants. It gets that way through a precise purification process built on boiling and condensation.
Creating a homemade water distiller is surprisingly easy. You turn tap water into steam and then capture that steam as it cools back into liquid. This leaves dissolved minerals, heavy metals, and many other contaminants behind in the original pot.
While commercial distillation systems exist, making distilled water at home with a kettle or stovetop pot is affordable and simple. You can use basic kitchen tools you likely already own, and you don’t need any special plumbing or a dedicated appliance. This method works well for topping off small appliances, mixing infant formula, filling a CPAP humidifier, or handling other household needs where mineral-free water matters.
Whether you need a single small batch for a specific task or you simply want to know how to make distilled water with a kettle as a backup option, this guide has you covered. It walks through the full process step by step, from gathering equipment to storing your finished water safely.

Key Takeaways
- Distillation removes nearly all minerals, chemicals, and microorganisms from tap water
- Home distillation with a kettle or pot is cost-effective and needs minimal equipment
- Water must reach a full rolling boil, not a gentle simmer, for safe and effective distillation
- Distilled water is useful for far more than drinking, from appliances to lab work
- Proper storage in a sealed glass container keeps your distilled water fresh for months
Understanding Distilled Water and Its Benefits
Purifying water in a kettle is more than just a simple kitchen task. Distilled water is one of the most thorough ways to make safe drinking water. The boiling and condensation process removes impurities with real precision. That precision is why hospitals, labs, and car manufacturers all rely on distillation.
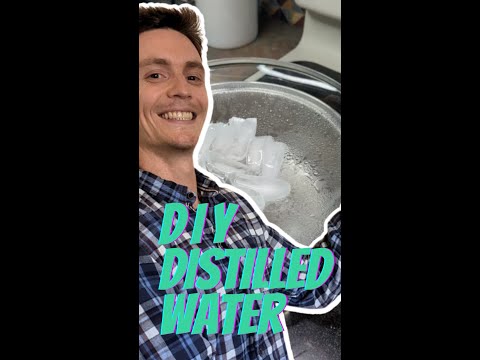
Distilled water differs from regular tap water because of that purification process. According to the CDC, distillation is effective against parasites, bacteria, and viruses. It also removes many chemicals such as arsenic, lead, chromium, and nitrate. That combination makes it one of the more thorough home water treatment methods available. It does little, however, against certain volatile chemicals that evaporate at roughly the same temperature as water and travel along with the steam.
What Sets Distilled Water Apart
- Removes dissolved minerals, heavy metals, and most chemical contaminants
- Inactivates parasites, bacteria, and viruses when the water reaches a full rolling boil
- Creates water with a consistent, predictable chemical composition batch after batch
Common Uses for Distilled Water
| Application | Purpose |
|---|---|
| Medical Devices | Ensuring sterile, mineral-free environments |
| Automotive Systems | Preventing mineral buildup in cooling systems and batteries |
| Laboratory Research | Maintaining precise, repeatable experimental conditions |
Why Create Your Own Distilled Water
Making your own distilled water at home has real benefits over buying it by the jug. A countertop water distiller typically produces about a gallon of water every 4 to 6 hours. A stovetop kettle setup is slower, but it needs no special equipment and no upfront purchase. Our guide on how long it takes to distill water at home breaks down production speed for different methods.
Building your own batch at home also gives you full control over water quality. There’s no ongoing subscription cost and no trip to the store every time you run low. Once you know how to make distilled water with a kettle, you can produce a small batch on demand. It’s useful any time a recipe, appliance, or project calls for it.
While distilled water is very pure, it lacks beneficial minerals like calcium and magnesium. If distilled water makes up most of your daily intake, it helps to get those minerals from food or a supplement instead. This matters most if you plan to switch your household’s everyday drinking water to a homemade distilled supply, rather than using it only for occasional needs.
Essential Equipment and Materials Needed
Making your own home water distiller is easier than you think. You can turn regular tap water into clean distilled water with basic kitchen tools. Most of what you need is probably already in your kitchen. Gathering the right tools first makes it easier to learn how to make distilled water with a kettle. Here’s what you’ll need for your DIY distilled water project:
- Large stainless steel pot (5-gallon recommended) or kettle
- Smaller pot or heat-safe collection vessel
- Domed or inverted pot lid
- Ice pack or ice cubes
- Heat-resistant oven mitts
- Measuring cup
Here are some tips for boiling water for distillation:
- Fill the large pot about halfway with tap water
- Leave several inches of space at the top for steam to collect
- Rest the smaller collection vessel in the center, above the waterline, so condensed drops land inside it rather than back in the source water
A few notes on the equipment itself: a wide, heavy-bottomed stainless steel pot heats more evenly than a thin one. That evenness helps you maintain a steady boil. A small heat-safe glass bowl works better than plastic as your collection vessel. Plastic can leach odors or flavors into the freshly distilled water while it’s still warm.
When making your home water distiller, safety is key. Always wear heat-resistant gloves and handle hot pots with care, since both the pot and the lid will be very hot throughout the process. Water needs to reach a true, full rolling boil at 212°F (100°C) at sea level for the process to work. A gentle simmer around 180 to 200°F will not generate enough steam for efficient distillation. It also will not reliably reach the temperature needed to inactivate pathogens.
According to the New York State Department of Health, a full rolling boil inactivates waterborne bacteria, viruses, and parasites. One minute is enough at typical elevations, with three minutes recommended above 6,500 feet, where water boils at a slightly lower temperature. Keeping your pot at a steady, visible rolling boil throughout the process, not just at the start, is what makes homemade distilled water both pure and safe.
How to Make Distilled Water with a Kettle: Step-by-Step Process
Making clean water from a kettle is easier than you think. This method lets you make pure water in your kitchen with just a few tools. Once you’ve done it one time, each additional batch goes faster.
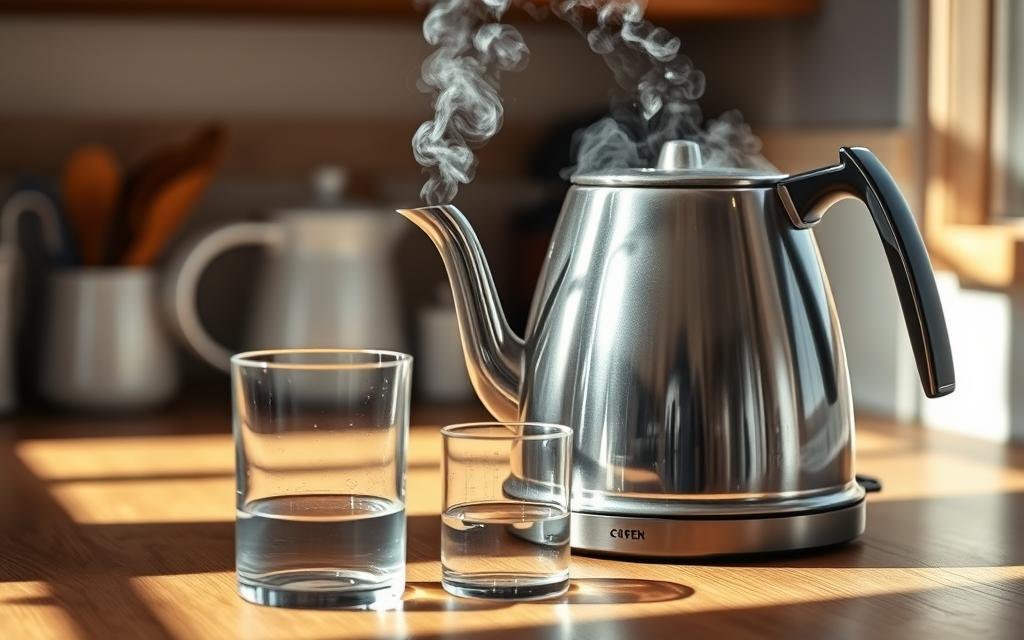

To understand water distillation, you need to know how water changes from liquid to vapor and back again. It’s all about controlling temperature and giving that vapor a cool surface to condense against.
Setting Up Your DIY Distillation System
To start your clean water project, you’ll need these things:
- Large kettle or pot
- Glass bowl to collect condensed water
- Ice cubes
- Domed pot lid
- Tongs for handling hot items
Set the collection bowl in the center of the pot so it floats or rests above the waterline. Then fit the lid upside down on top so its handle dips slightly toward the bowl. This channels every condensed drop down instead of back into the source water.
The Distillation Process Explained
The water distillation process has three main steps:
- Heat water to a full rolling boil (212°F)
- Capture the rising water vapor on a cold lid surface
- Let the condensed droplets run down and collect as pure water
The rest is really just patience and keeping an eye on the ice. Refill the ice on top of the lid every 15 to 20 minutes. This keeps the temperature difference between the steam and the lid large enough for efficient condensation.
Tips for Maximum Water Yield
Here are some tips to get more distilled water from each batch:
| Technique | Expected Result |
|---|---|
| Maintain a steady rolling boil | Consistent vapor production |
| Use ice on the lid for condensation | Faster water collection |
| Replace ice frequently | Better condensation efficiency |
Yield with a simple stovetop or kettle setup is modest compared to a dedicated countertop distiller. In practice, a full 8-cup batch of tap water takes just over an hour to work through with a basic pot-in-pot method. You’ll collect only a portion of that as distilled water, while the rest stays behind in the pot as concentrated mineral residue. For a side-by-side look at speed, see our comparison of how long different distillation methods take.
Your homemade distilled water benefits from that same full rolling boil throughout the process. It’s treated much the same way the CDC and state health departments recommend for making water safe to drink, so it should be free of the bacteria, viruses, and parasites that a rolling boil is known to inactivate.
Common Mistakes to Avoid
A few small mistakes account for most disappointing batches, and knowing them ahead of time can save your first attempt at learning how to make distilled water with a kettle. Letting the boil drop to a simmer is the most common one. It slows vapor production dramatically and can leave the water under-treated. Using a lid that isn’t domed or inverted is another common mistake. A flat lid lets condensed drops fall straight back into the source water instead of into your collection bowl.
Letting the ice melt completely without replacing it is a third mistake. Once the lid warms up, condensation slows and your yield drops off even though the pot is still boiling hard. Finally, avoid using a collection bowl that touches the boiling water directly. It should sit above the waterline and catch only the condensed steam.
Storage and Safety Considerations


Creating safe drinking water through distillation needs careful storage and handling afterward. Your clean water from a kettle must be kept pure once it’s made. Otherwise, it can pick up new contaminants from its container or surroundings, which defeats much of the purpose of distilling it in the first place.
When storing distilled water, choose a container with the right traits for safety:
- Use food-grade glass or high-density polyethylene (HDPE) containers
- Avoid metal containers, which can introduce contaminants into pure water
- Choose opaque or dark-colored containers, or store in a dark spot, to limit light exposure
Once you’ve learned how to make distilled water with a kettle, storing it properly is just as important as making it correctly. Storage conditions matter as much as the container. Keep your distilled water in a cool, dark place, ideally between 50 and 70°F, away from sunlight, household chemicals, and swings in temperature. For more detail on how long your batch stays fresh, check our guide on how long distilled water lasts at home.
A properly sealed glass container stored this way typically keeps distilled water usable for 6 to 12 months. Sealed water in glass can stay stable even longer than that, but 6 to 12 months is a safe practical window for most households. Watch for these signs that a batch should be discarded rather than used:
- Unusual odor
- Visible particulates or cloudiness
- Any noticeable change in clarity
| Storage Parameter | Recommended Condition |
|---|---|
| Container Type | Food-grade glass or HDPE |
| Temperature | Cool (50-70°F) |
| Light Exposure | Minimal or blocked |
| Typical Storage Time | 6-12 months, sealed |
Remember, distilled water is very pure but lacks minerals your body normally gets from tap or mineral water. If it makes up a large share of what you drink, talk with a healthcare professional. They can advise whether you need to adjust your diet or supplements to make up the difference. If cost is a factor, our breakdown of how much distilled water costs can help you compare homemade batches with a commercial unit.
Conclusion
Making your own distilled water with a kettle is a useful skill that lets you create pure water right in your kitchen. It can save you money over time and provide clean water for uses ranging from medical devices to car batteries.
Your homemade water distiller method removes dissolved minerals. When you maintain a full rolling boil throughout, it also inactivates the bacteria, viruses, and parasites that boiling is known to eliminate. You only need simple kitchen tools, patience through a roughly hour-long batch, and a bit of practice to get consistent results. Most households already own everything the process calls for.
At first, making distilled water might seem like a lot of steps. With practice, though, you’ll get faster and more confident with each batch, and refilling the ice or checking the boil will become second nature. Learning how to make distilled water with a kettle also helps cut down on plastic waste from bottled water. You can refill the same collection containers again and again instead of buying new bottles. Start making distilled water at home today, and enjoy having a reliable source of clean, mineral-free water whenever you need it.
Store finished batches in a sealed glass container in a cool, dark spot, for no more than 6 to 12 months. Label your containers with the date you distilled them, and track how long each batch has been stored. Always use clean tools and vessels throughout the process, from the first fill to the final pour. That care keeps your water as pure as possible from kettle to glass.


Hi, I’m Mamon, the content creator behind this blog. I share my experience in blogging, WordPress, SEO, and affiliate marketing through honest product reviews, in-depth buying guides, and practical how-to articles. Every piece of content is thoroughly researched and written to help readers make informed decisions.